Flutter Web is a great tool for creating websites and web applications. Even better with the use of Firebase, you can host your Flutter web apps for free. In this post, we will go over the necessary steps needed to host an existing Flutter application on the web.
Table of contents
Requirements
To follow this tutorial you will need a Google Account to access Firebase. If this is your introduction to Firebase, do not worry because we will go through all the steps together.
Installing Firebase CLI
The first step to hosting our Flutter web application for free is to install the Firebase CLI. The Firebase CLI provides a variety of tools for managing, viewing, and deploying to Firebase projects. Firebase CLI download page.
On the download page, you will see that you have the option to select your operating system. In my case, I am using a Windows device, so I will be going for the Firebase CLI binary for Windows.

Once you have chosen the installation method ensure that you can open the Firebase CLI.
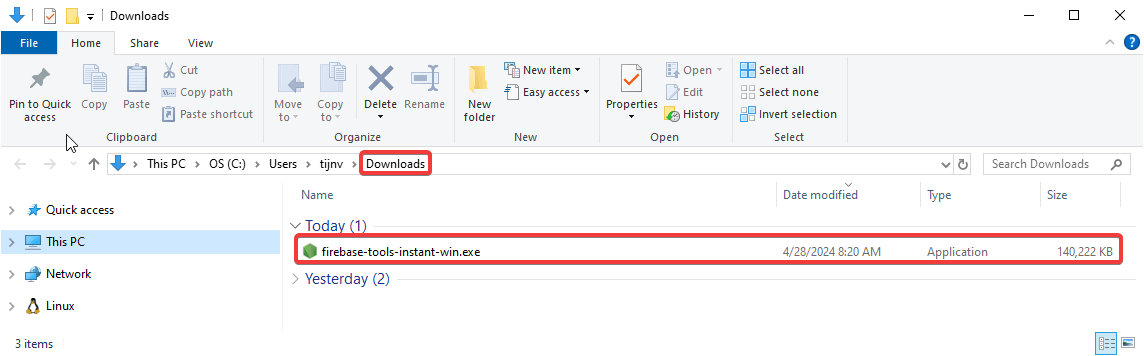
If you have taken the same approach as in the above screenshot, you can go to your Downloads folder and double-click firebase-tools-instant-win.exe.
Windows might warn you that it does not trust the
.exebecause it does not have a verified publisher. Since we downloaded the.exefrom the official Firebase website, there is nothing to worry about.
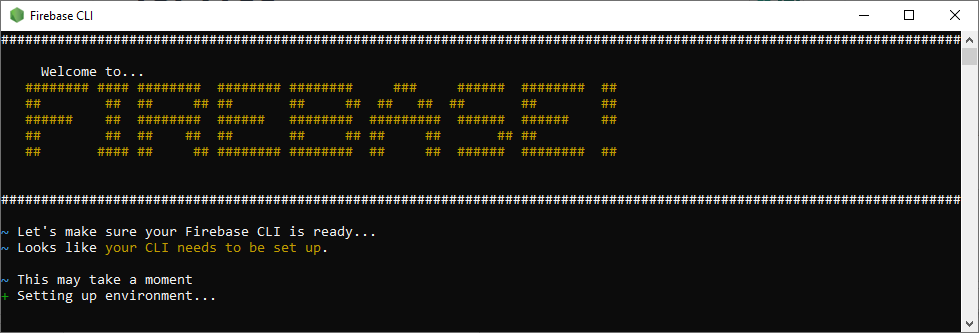
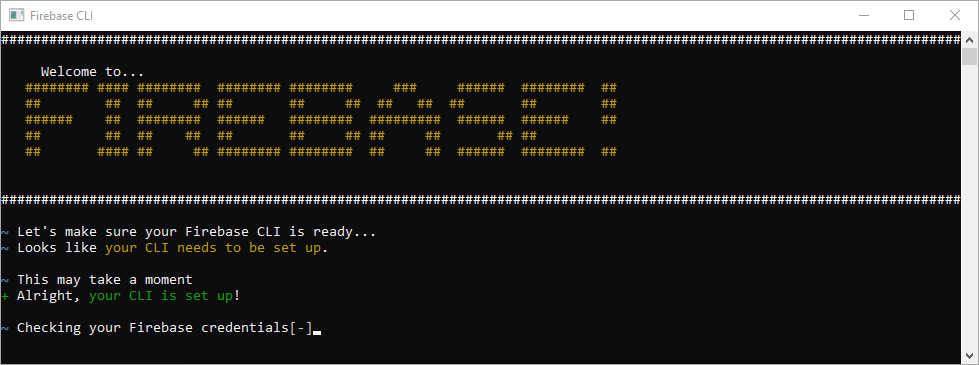
After opening the Firebase CLI you will notice that the CLI still needs some time to set itself up.
The Firebase CLI will tell you when it is finished.
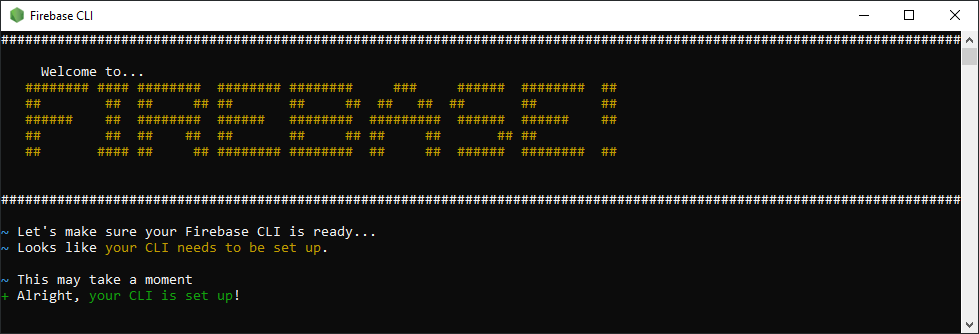
Once finished we can move on to the authentication.
Logging in to the Firebase CLI
After the initial setup, the CLI will automatically continue trying to help you log in to your Google account.
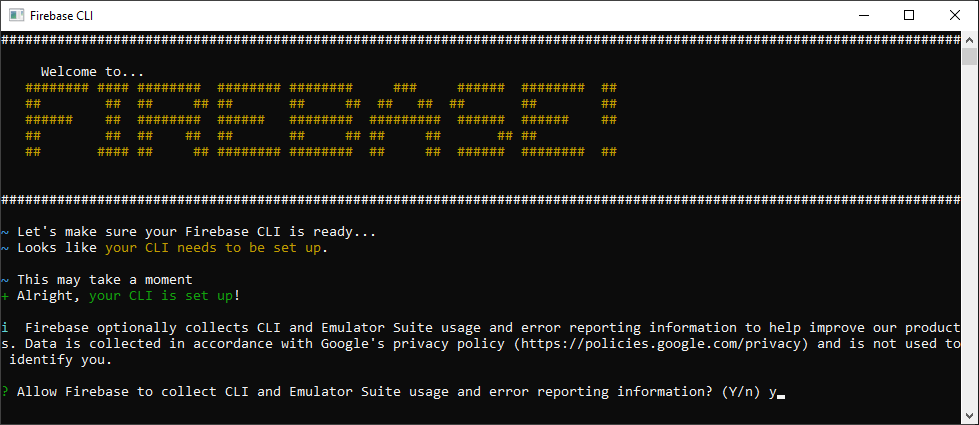
First, it will ask you if you want to allow Firebase to collect CLI and Emulator usage and error reporting information. Make your decision and press enter.
Afterward, the CLI will start checking whether you are authenticated or not.
Shortly after that, it will open your browser to go through the Google authentication process. If this is not the case you can open the given link from the CLI in your browser.

If for any reason the authentication process is aborted you can start it again using the
firebase logincommand.
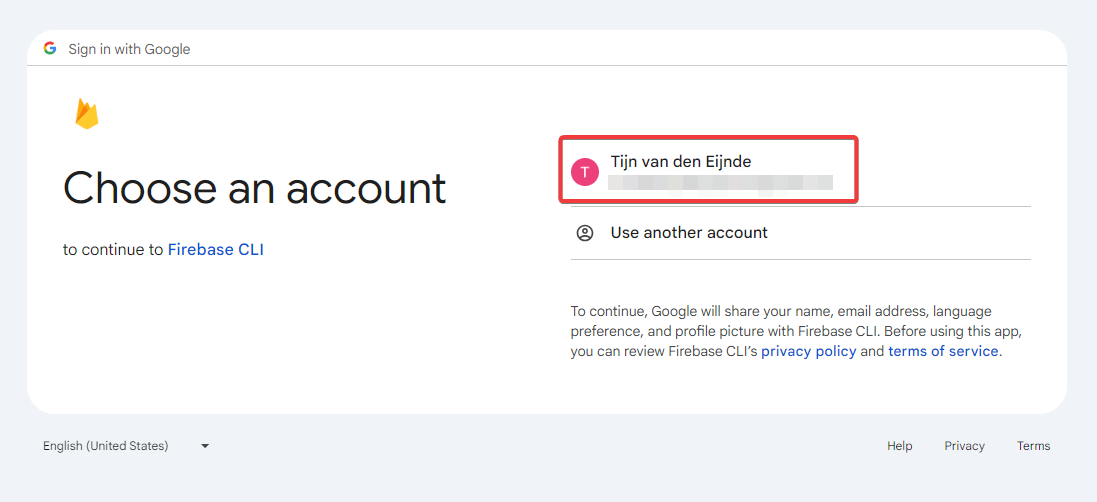
With the browser opened let us continue with the Google authentication process.
First, we have to select an account.
Afterward, we need to confirm that we want to permit Google to share some of our account data with Firebase CLI.
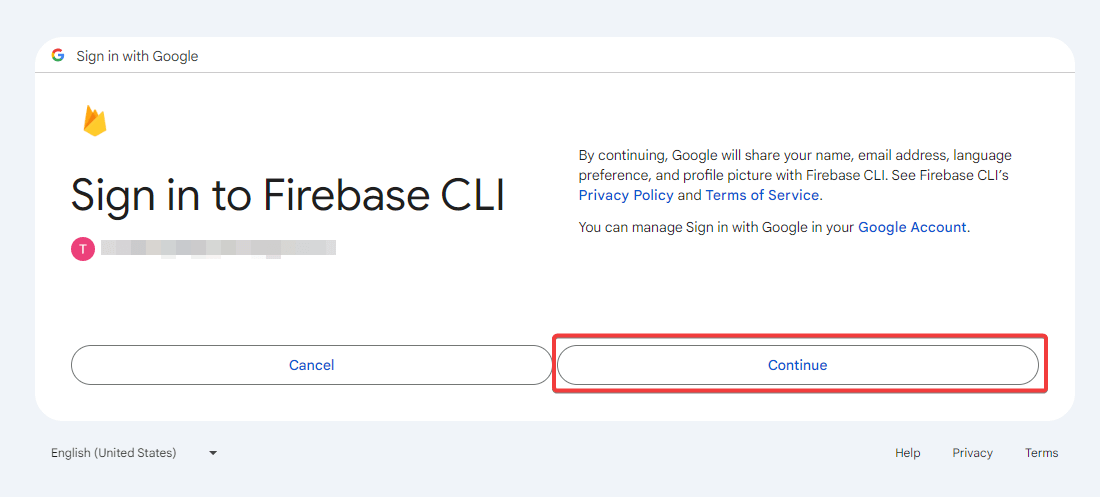
After having clicked Continue, Firebase CLI is now asking for the allowance.

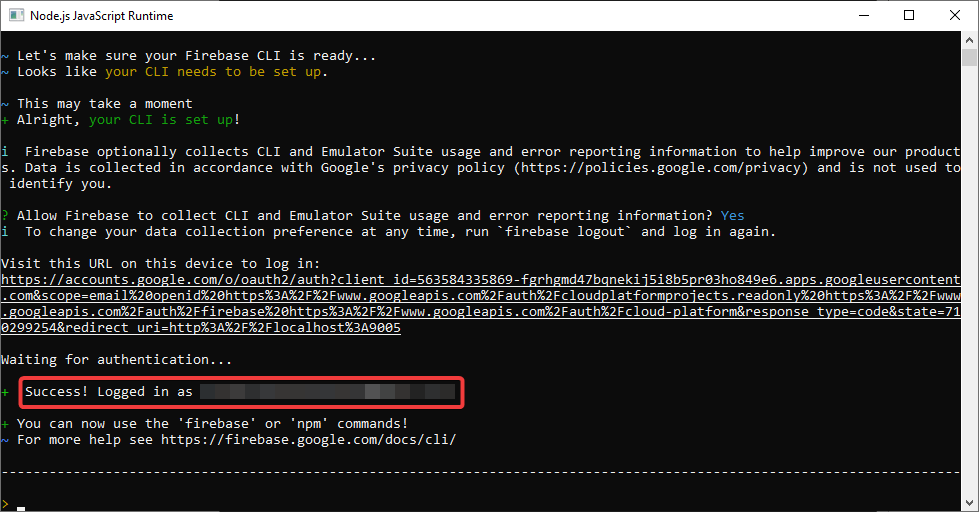
If you have clicked Allow you will see the following success message in your browser.
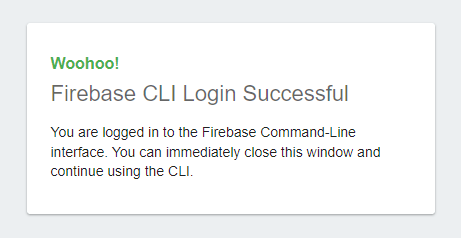
Also, if we check the Firebase CLI you will see that we have successfully been authenticated.
After authentication, we can continue creating a Firebase project.
Creating a Firebase Project to Host Flutter Web Apps
We can create a project via the Firebase CLI or the Firebase web application. I have tried to do it using the Firebase CLI, but unfortunately, it crashed because it does not accept the Firebase terms automatically. However, it is also very easy to create a new project using the Firebase web application.
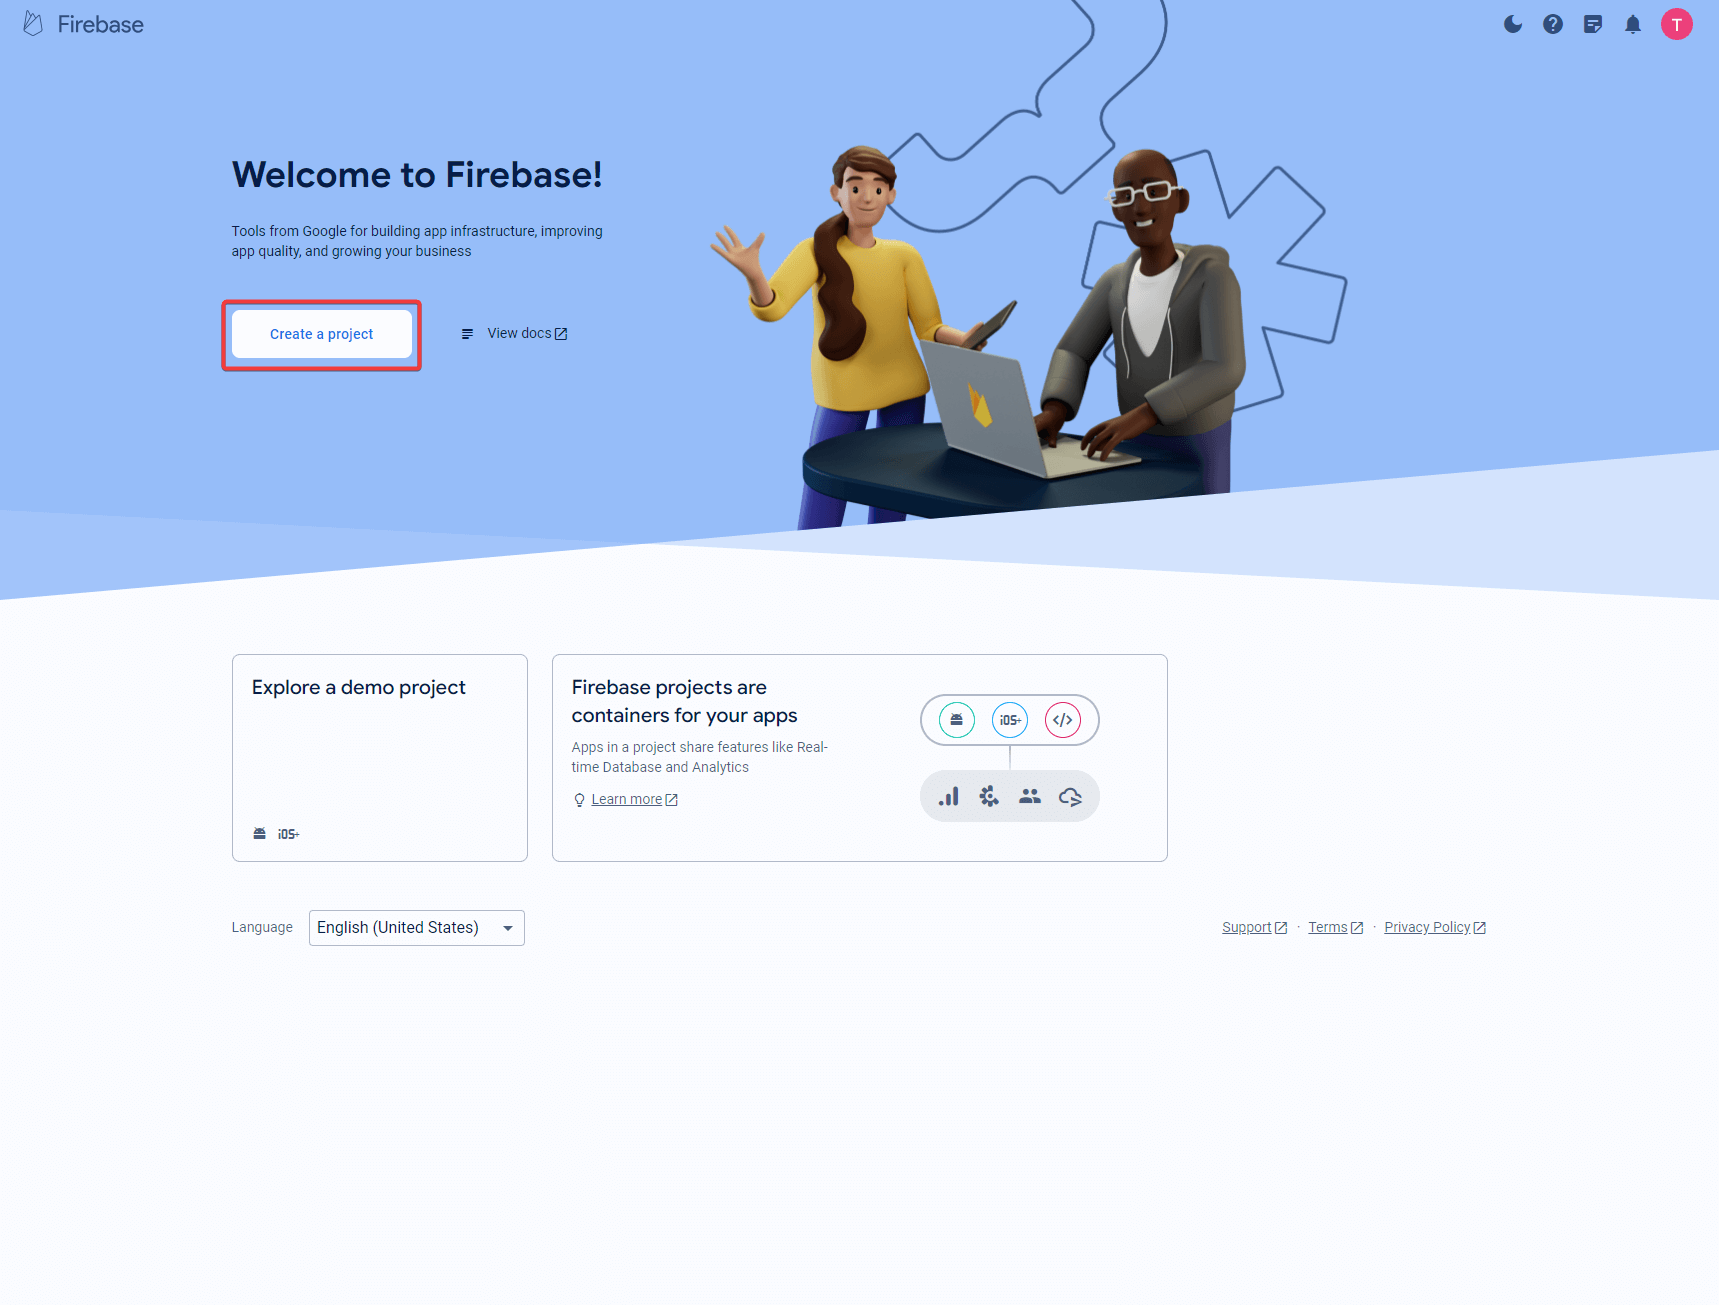
First, we have to navigate to the Firebase home page. On the home page, you have a Go to console button which we will need to click.

Once we are in the console we can click the Create a project button.
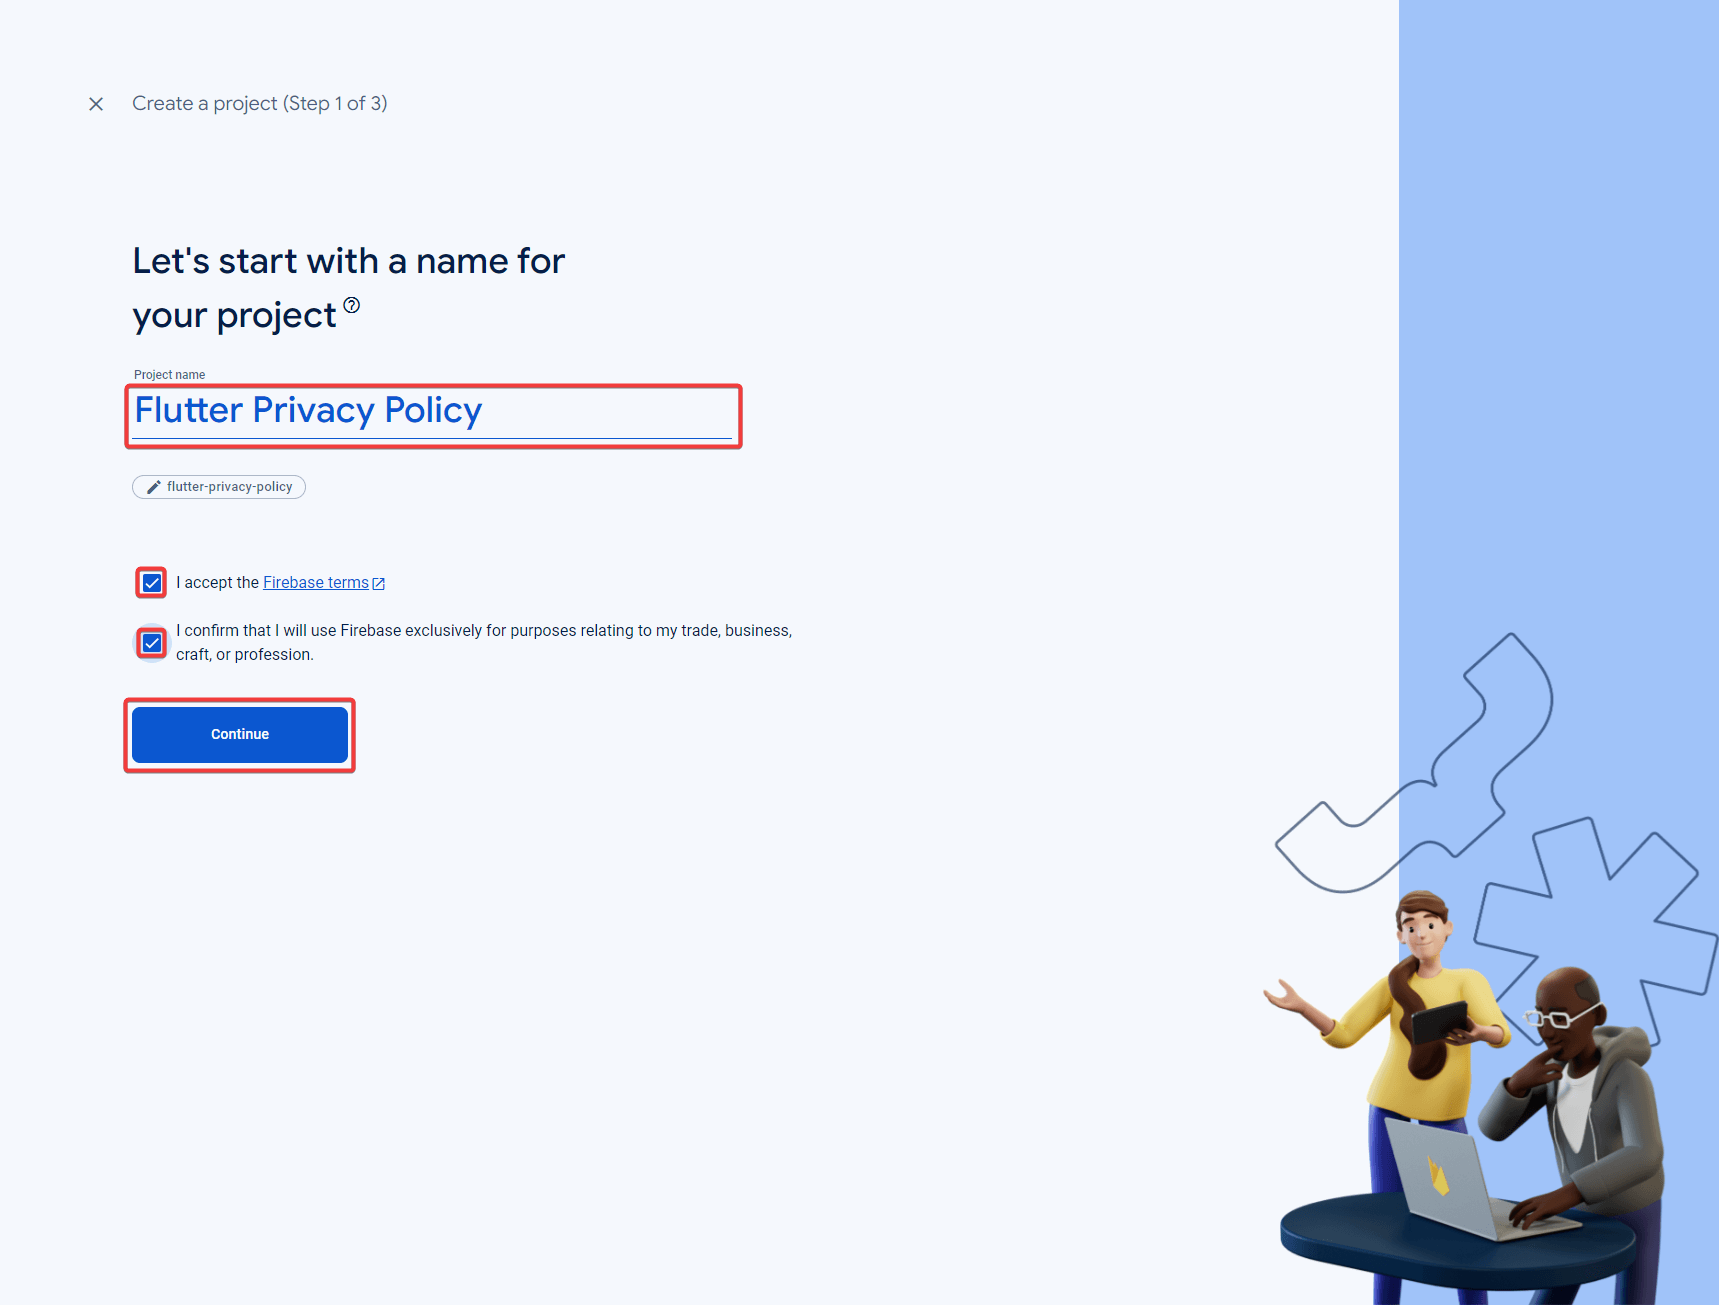
Afterward, we can fill in the name of the project and accept the Firebase terms.
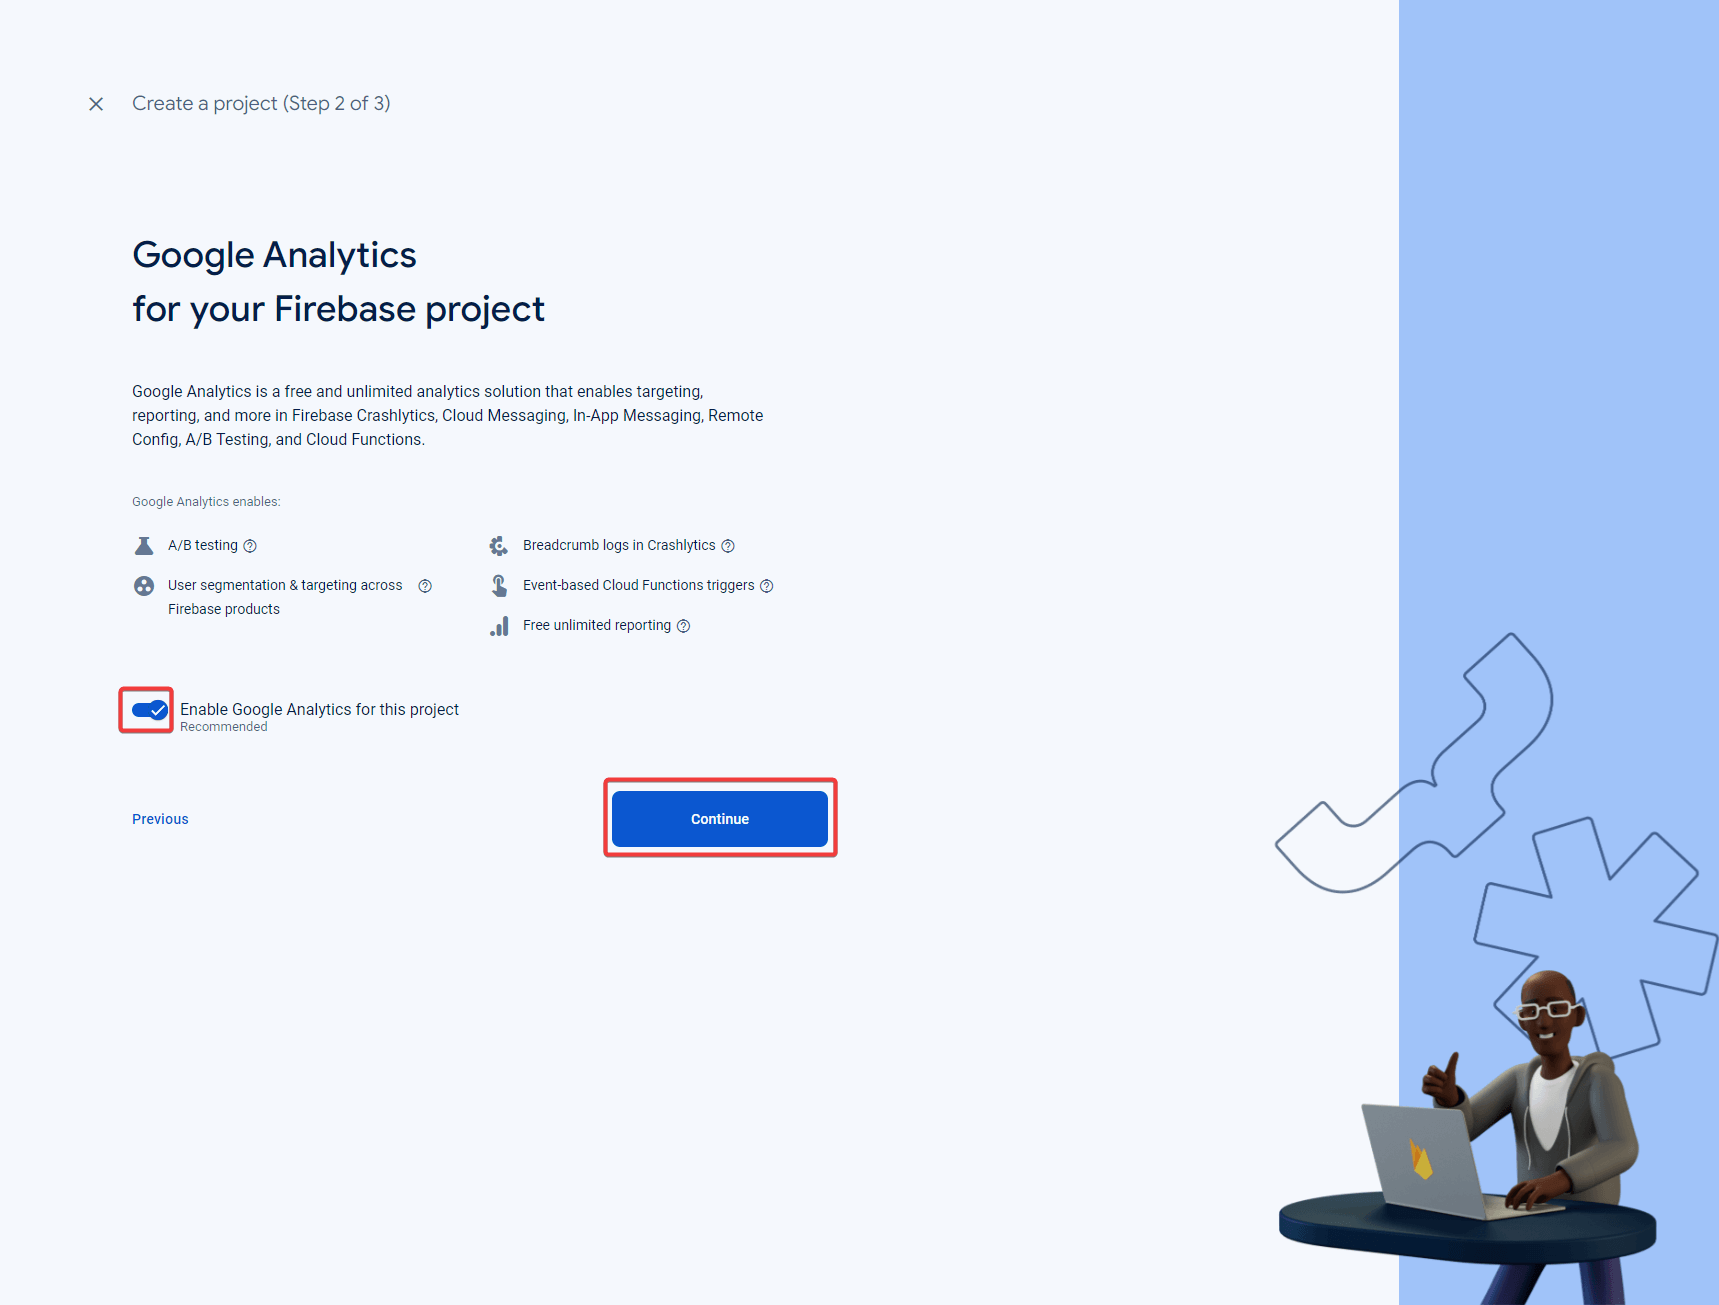
Firebase will now ask you if you want to connect your new project with Google Analytics. Make your decisions and click on Continue.
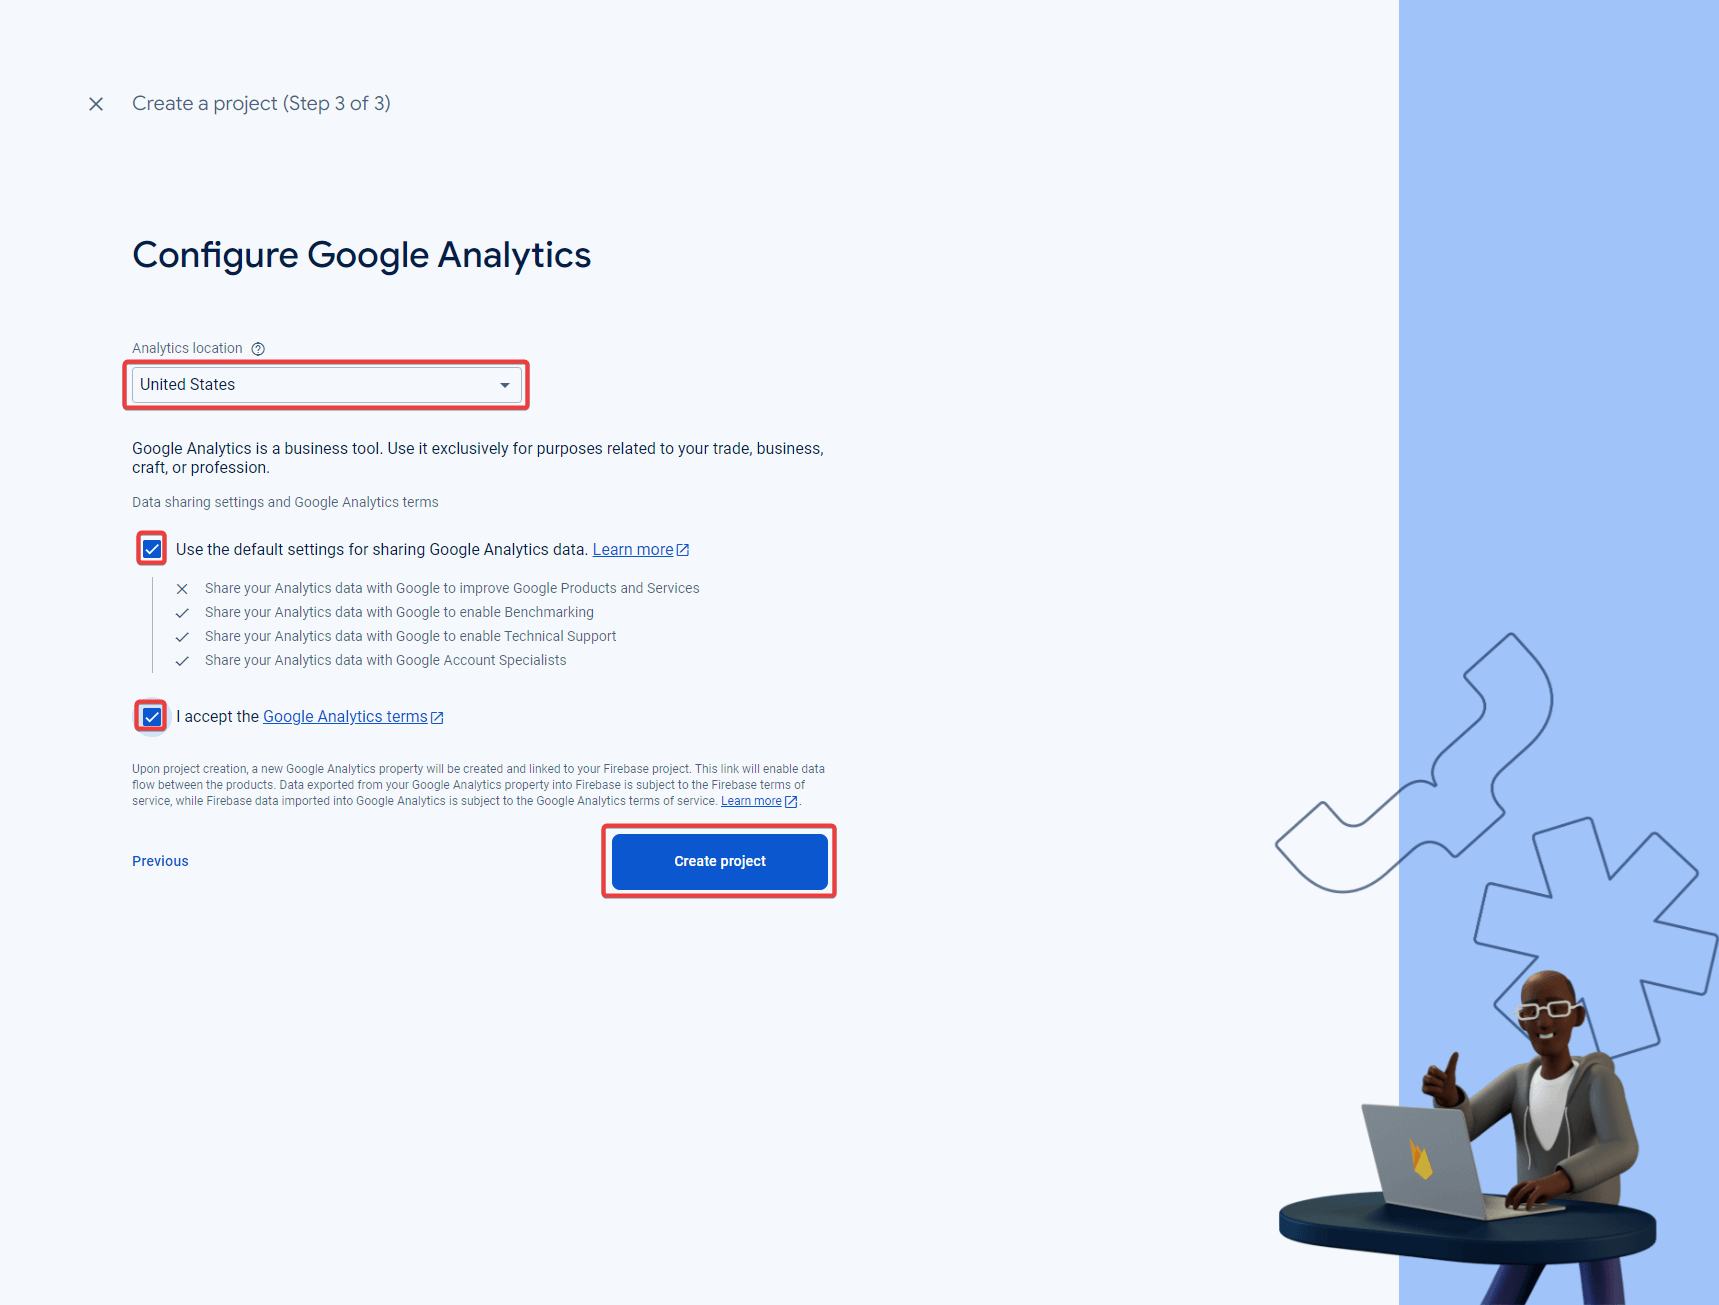
When you have accepted to connect your project with Google Analytics you have a few choices to make to finish the Google Analytics configuration. After making these choices you can click Create project.
After clicking Create project, Firebase will take some time to set everything up and once it is finished you will see the following screen.
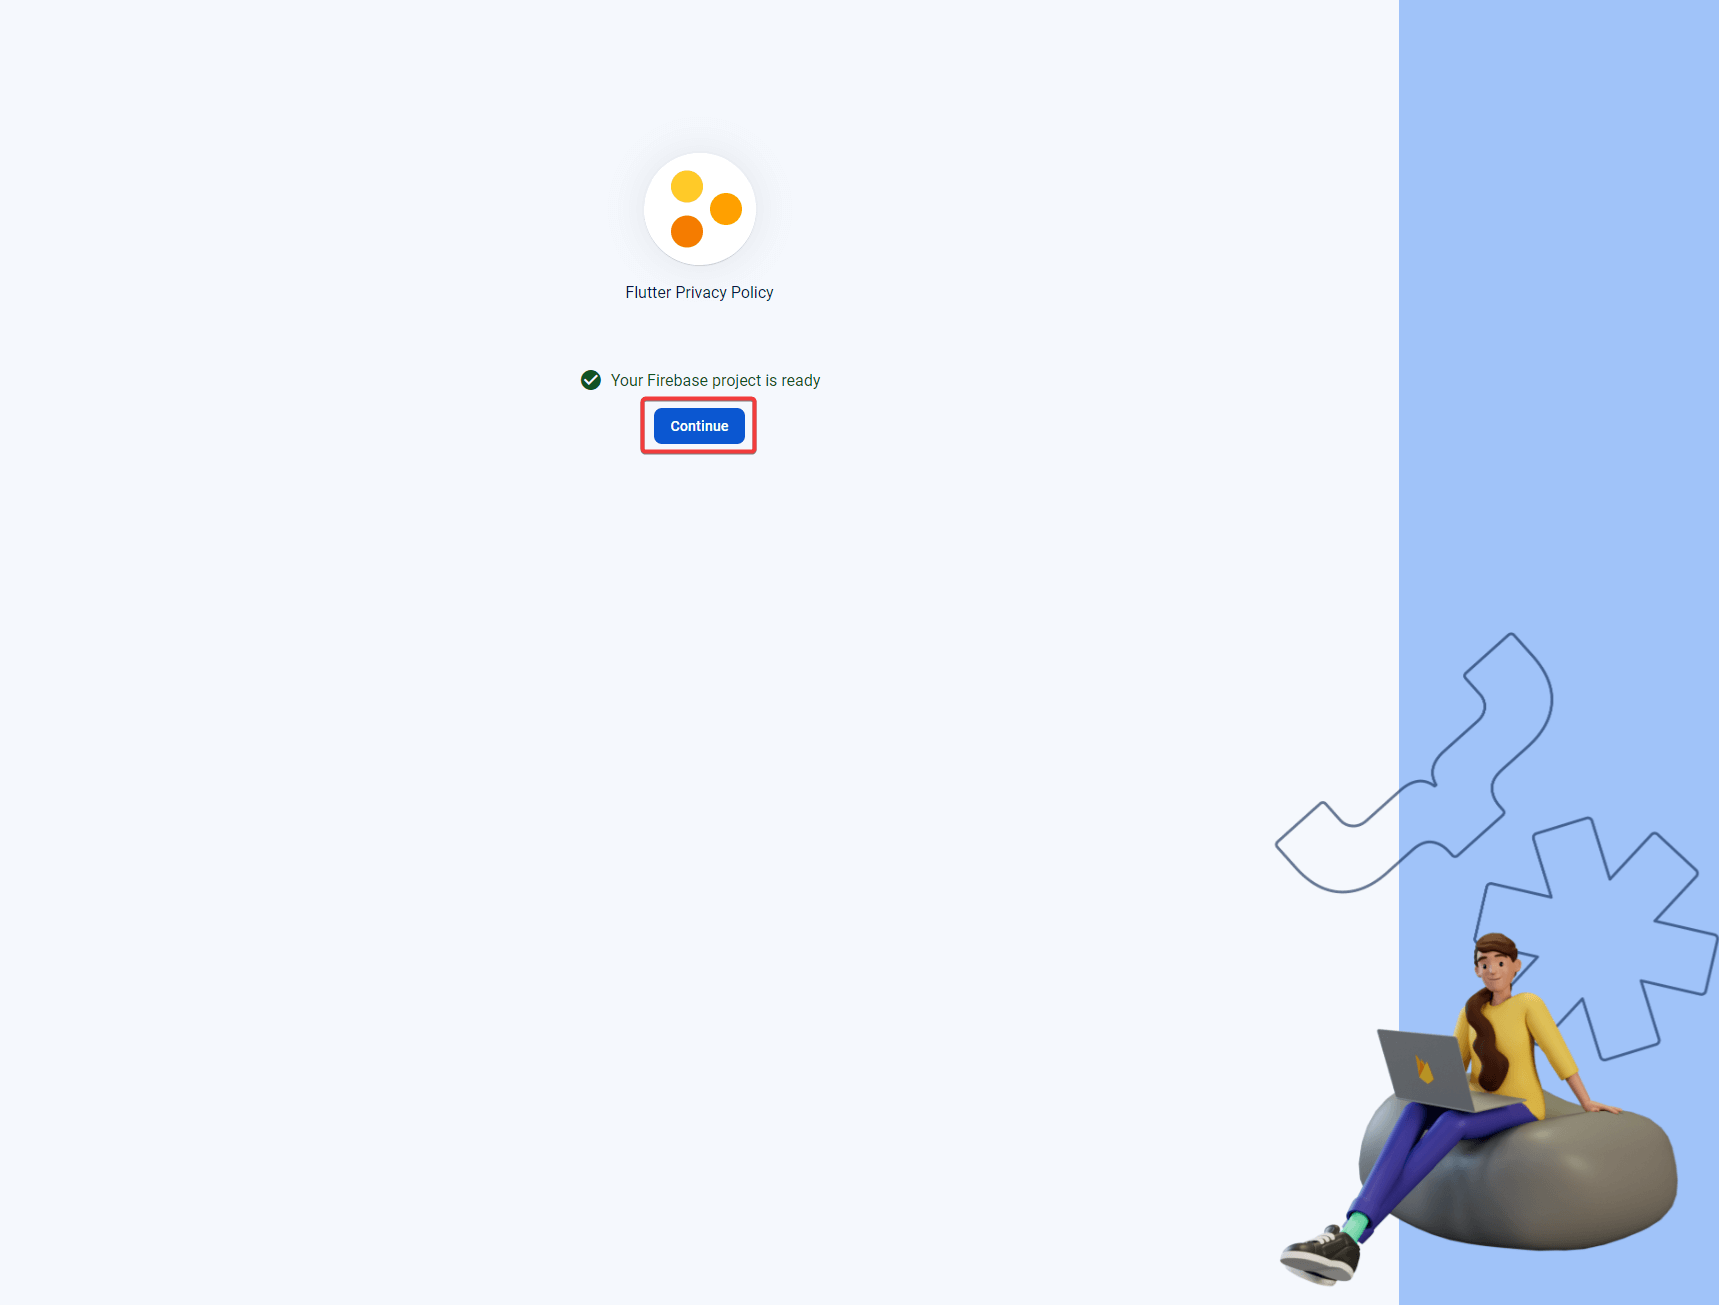
Finally, after clicking Continue you will see that your project is created.
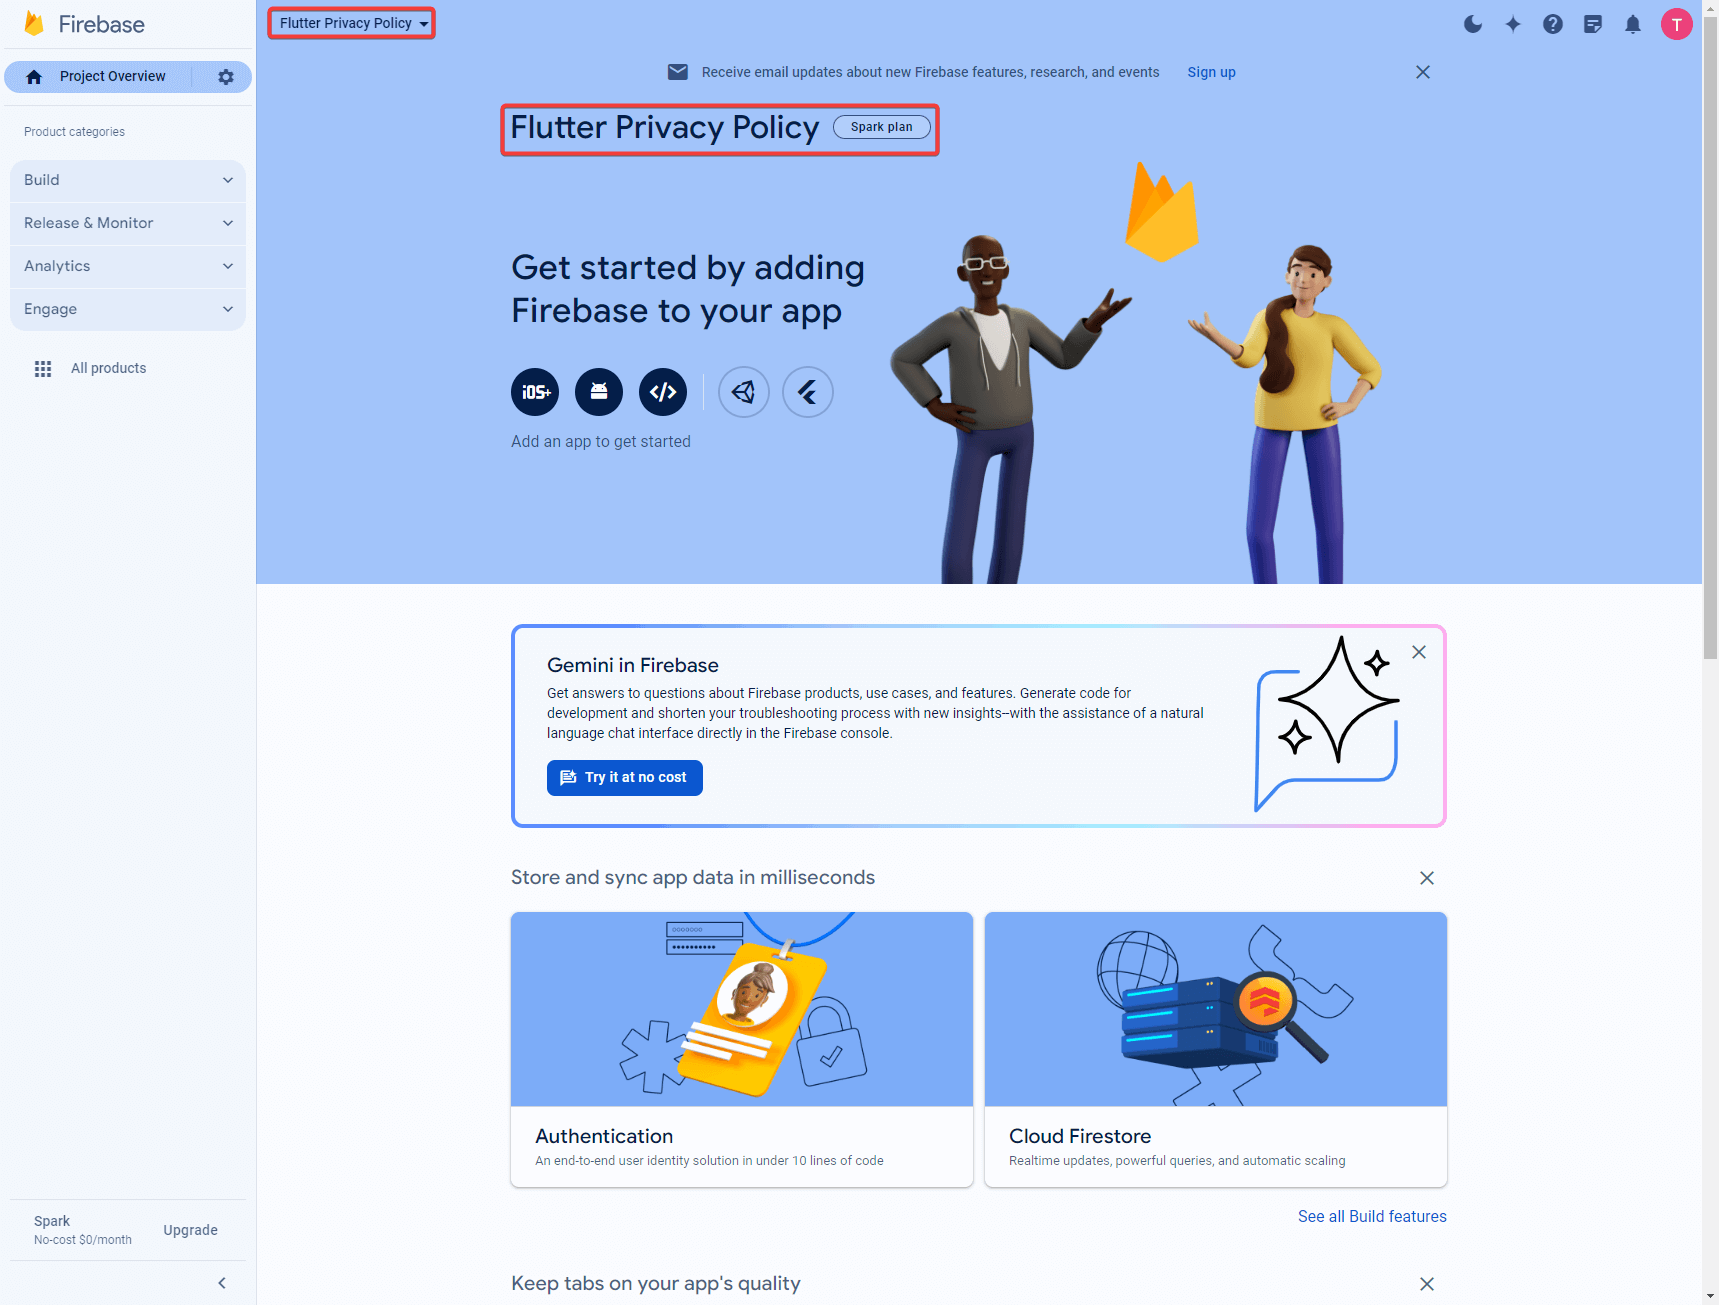
Now that our Firebase project is created we are getting closer to hosting a flutter web app.
Connecting Firebase CLI with Firebase
After successfully creating our Firebase project we can continue by connecting our Firebase CLI with our Firebase project.
Inside our CLI we can execute the following command:
firebase experiments:enable webframeworksThis will enable us to host Flutter web apps.

Afterward, we have to navigate to our project folder:
First, we execute the below command to see the current directory:
cdSecondly, we execute the following command to navigate to the folder where your Flutter project is located. Ensure that you are not selecting the project folder itself, we will do this in a later step. Do not forget to adjust the folder path with your own path.
cd \Users\tijnv\Documents\OnlyFlutter\posts\04_21_2024_create_privacy_policyIn the below screenshot, you can see the output we received by executing both commands.

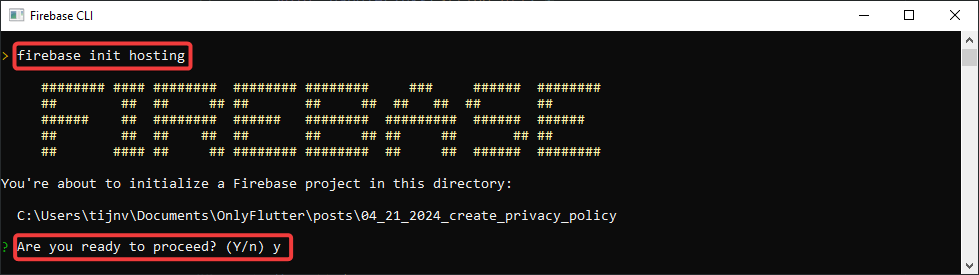
Once we are inside the correct path we can execute the following command:
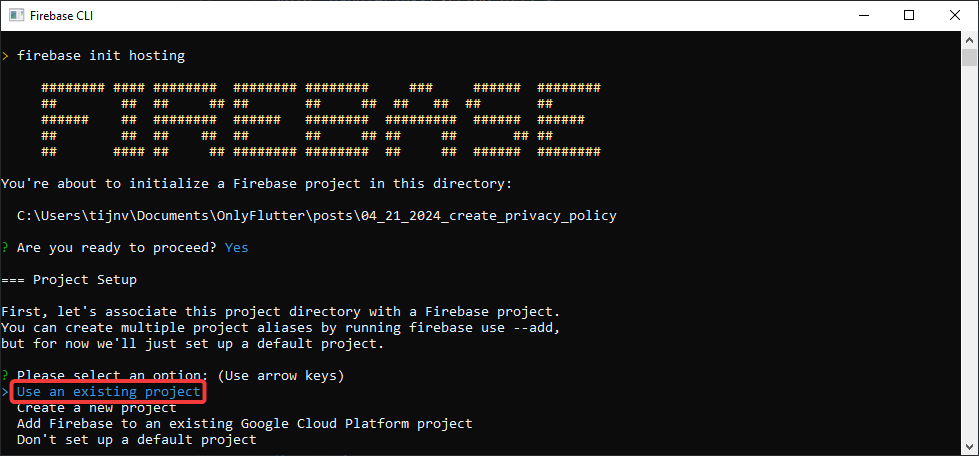
firebase init hostingThis command will initiate the hosting process. The hosting process will take us through a couple of steps that require us to make choices. The first choice we have to make is to confirm that we want to continue.
Afterward, we have to associate this project directory with a Firebase project. Since we already created a Firebase project we can choose to use an existing project.
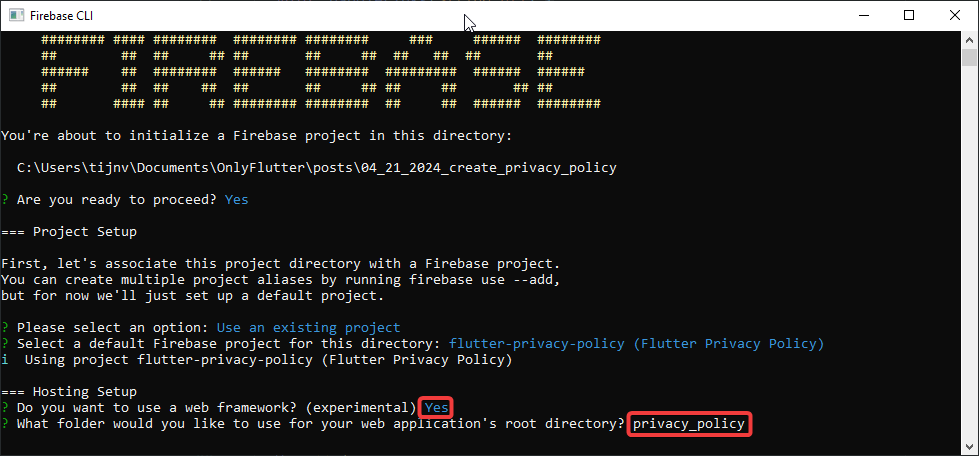
Following our decision you will be asked to select the project. After selecting the project make sure you say Yes to using a web framework. At last, fill in the exact folder name of your Flutter project to ensure that it is selected as the root directory.
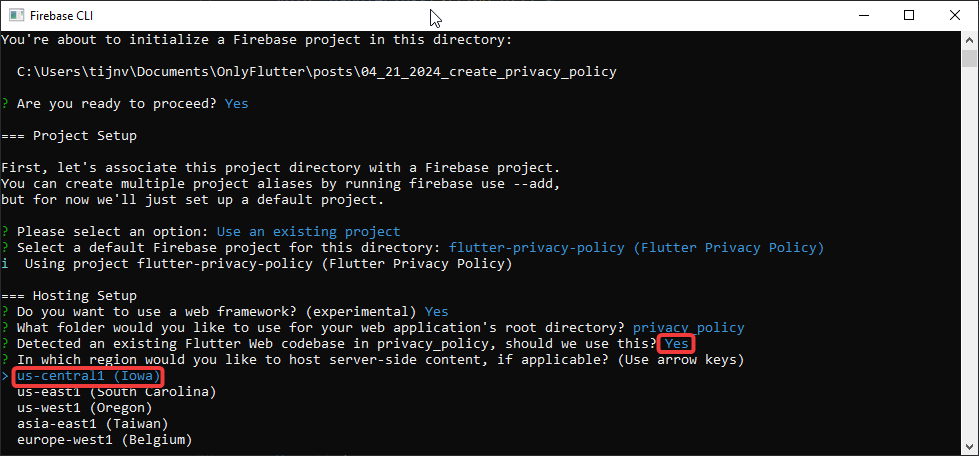
If the given directory is correct Firebase will automatically detect that it is a Flutter application. Afterward, you are asked to select a region.
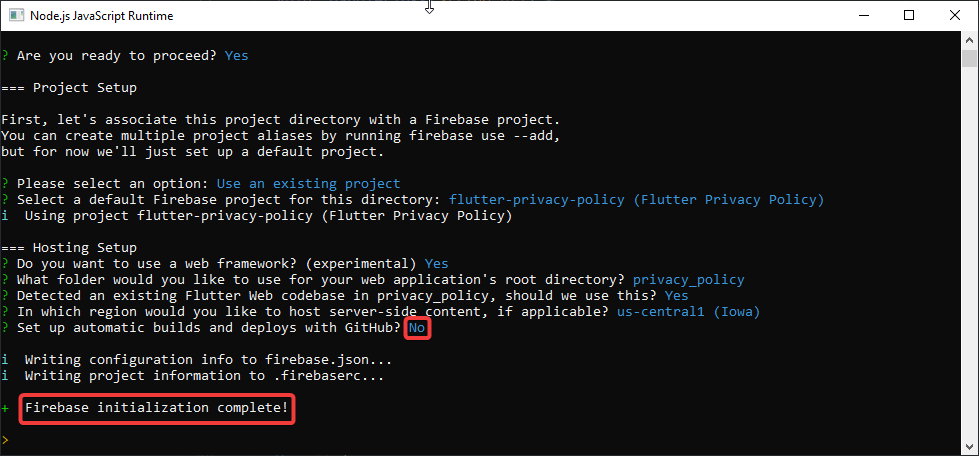
Finally, the CLI will ask you to set up automatic builds and deploys with GitHub. By selecting No the hosting setup is completed.
Deploying our Flutter Web App
With all the above steps completed. We can finally host the Flutter web app, by executing the following command:
firebase deployYou can follow the deployment process in the Firebase CLI and once it is finished it will give us the hosting URL.
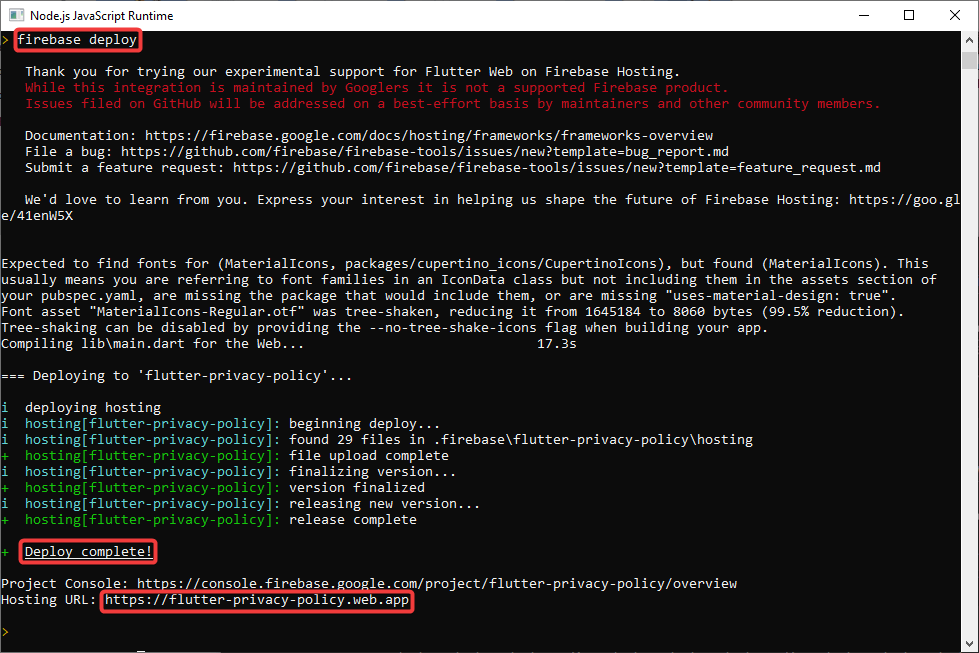
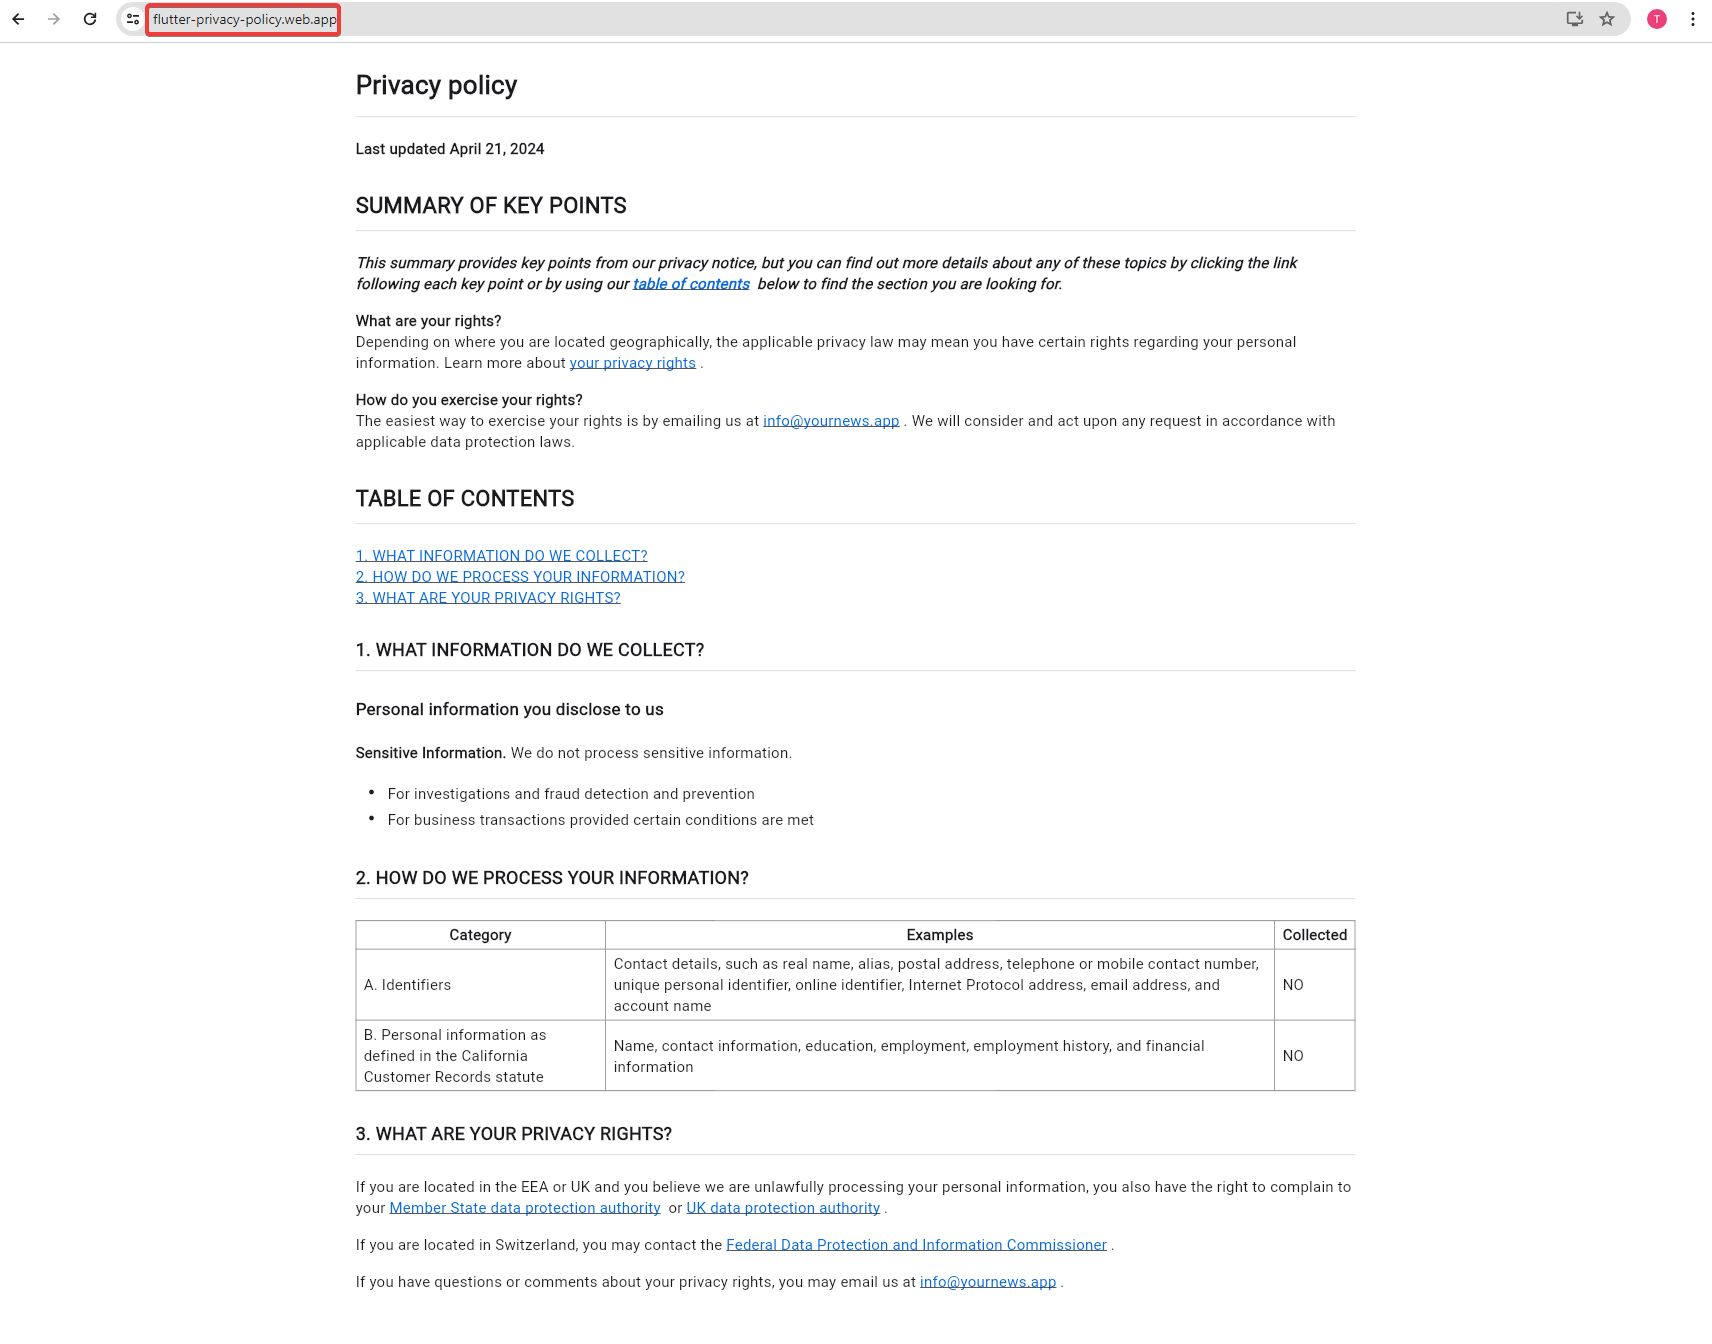
If we paste this URL into the browser you will see that your application is successfully online!
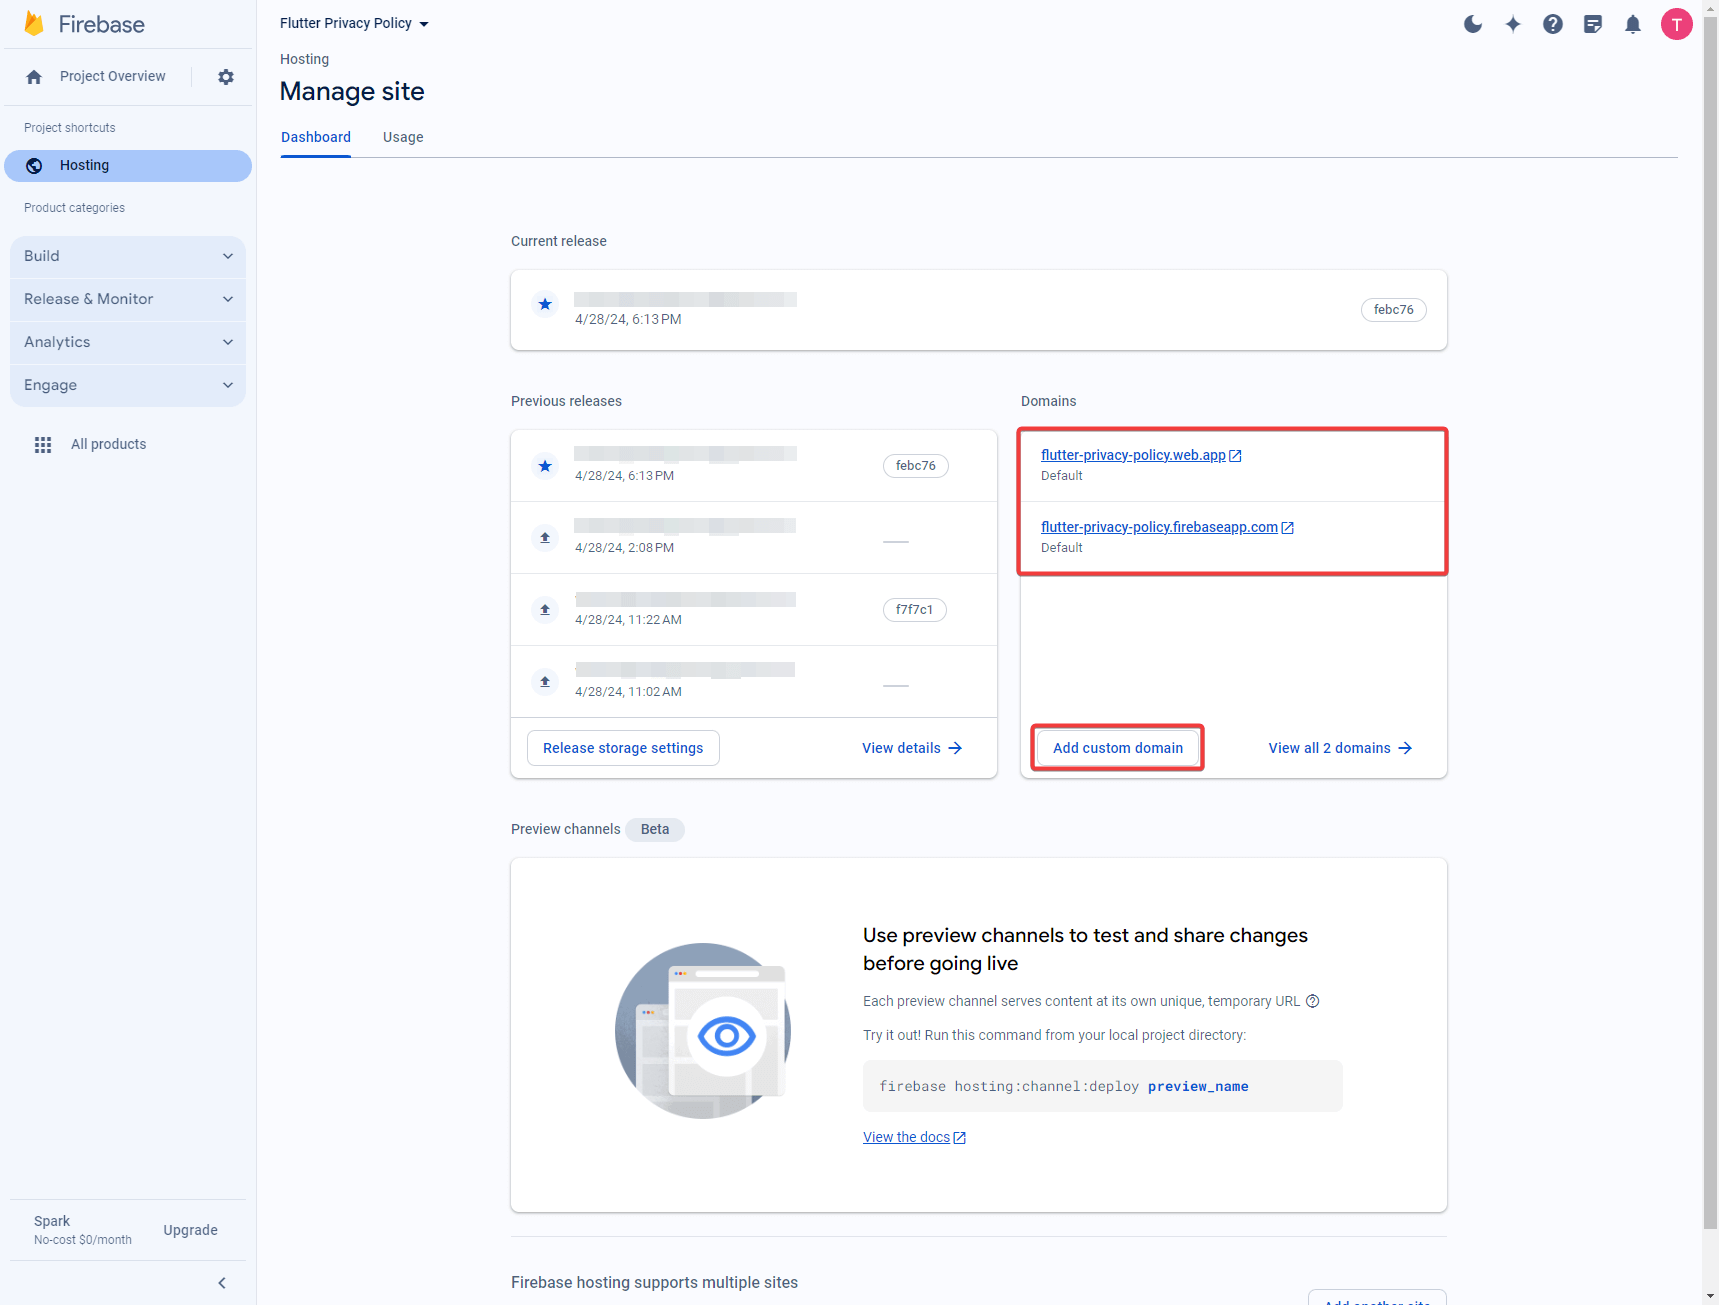
Also, if you go to your project in the Firebase web app you will see the available URLs and have the option to add a custom domain.
Remove the Flutter Web App From the Web
Of course, you can also disable the hosted Flutter web app using the Firebase CLI.
firebase hosting:disableIf you execute the above command it will disable the Firebase hosting for the site.

If you want to spin it up again you can always execute firebase deploy again.
Conclusion
In this post, you learned how to host Flutter web apps using Firebase. In the beginning, it might look like a lot of work, however, once you familiarize yourself with the steps it can be done within 5 minutes. Another benefit of using Firebase is that it has support for Flutter out of the box. Not to mention that you can add your own domain all for free.


Well, free until you burn through your free tier. But a simple static site probably won’t do badly.
You are right! Thanks for the addition! It’s 10GB a month for storage and downloads. It’s more than enough for landing pages, and low traffic web apps. Ideal to start with!