When you internationalize your Flutter application, you will notice that managing all the translation files can be quite challenging. Luckily there are great tools that can simplify it. One of these tools is BabelEdit.
Table of contents
What is BabelEdit?
BabelEdit is a great tool for managing your translation files. It has built-in support for Flutter and can also be used with JSON files. With BabelEdit you can easily detect untranslated entries, add new entries, and even translate them using Google, DeepL, Microsoft, and OpenAI.
BabelEdit offers a free trial for 7 days, afterward, you can buy a lifetime license, including translation credits.
Install BabelEdit
To install BabelEdit we can visit their download link. BabelEdit is available on Windows, macOS, and Linux. During this tutorial, we will be installing BabelEdit on Windows. However, feel free to follow along on any other machine.
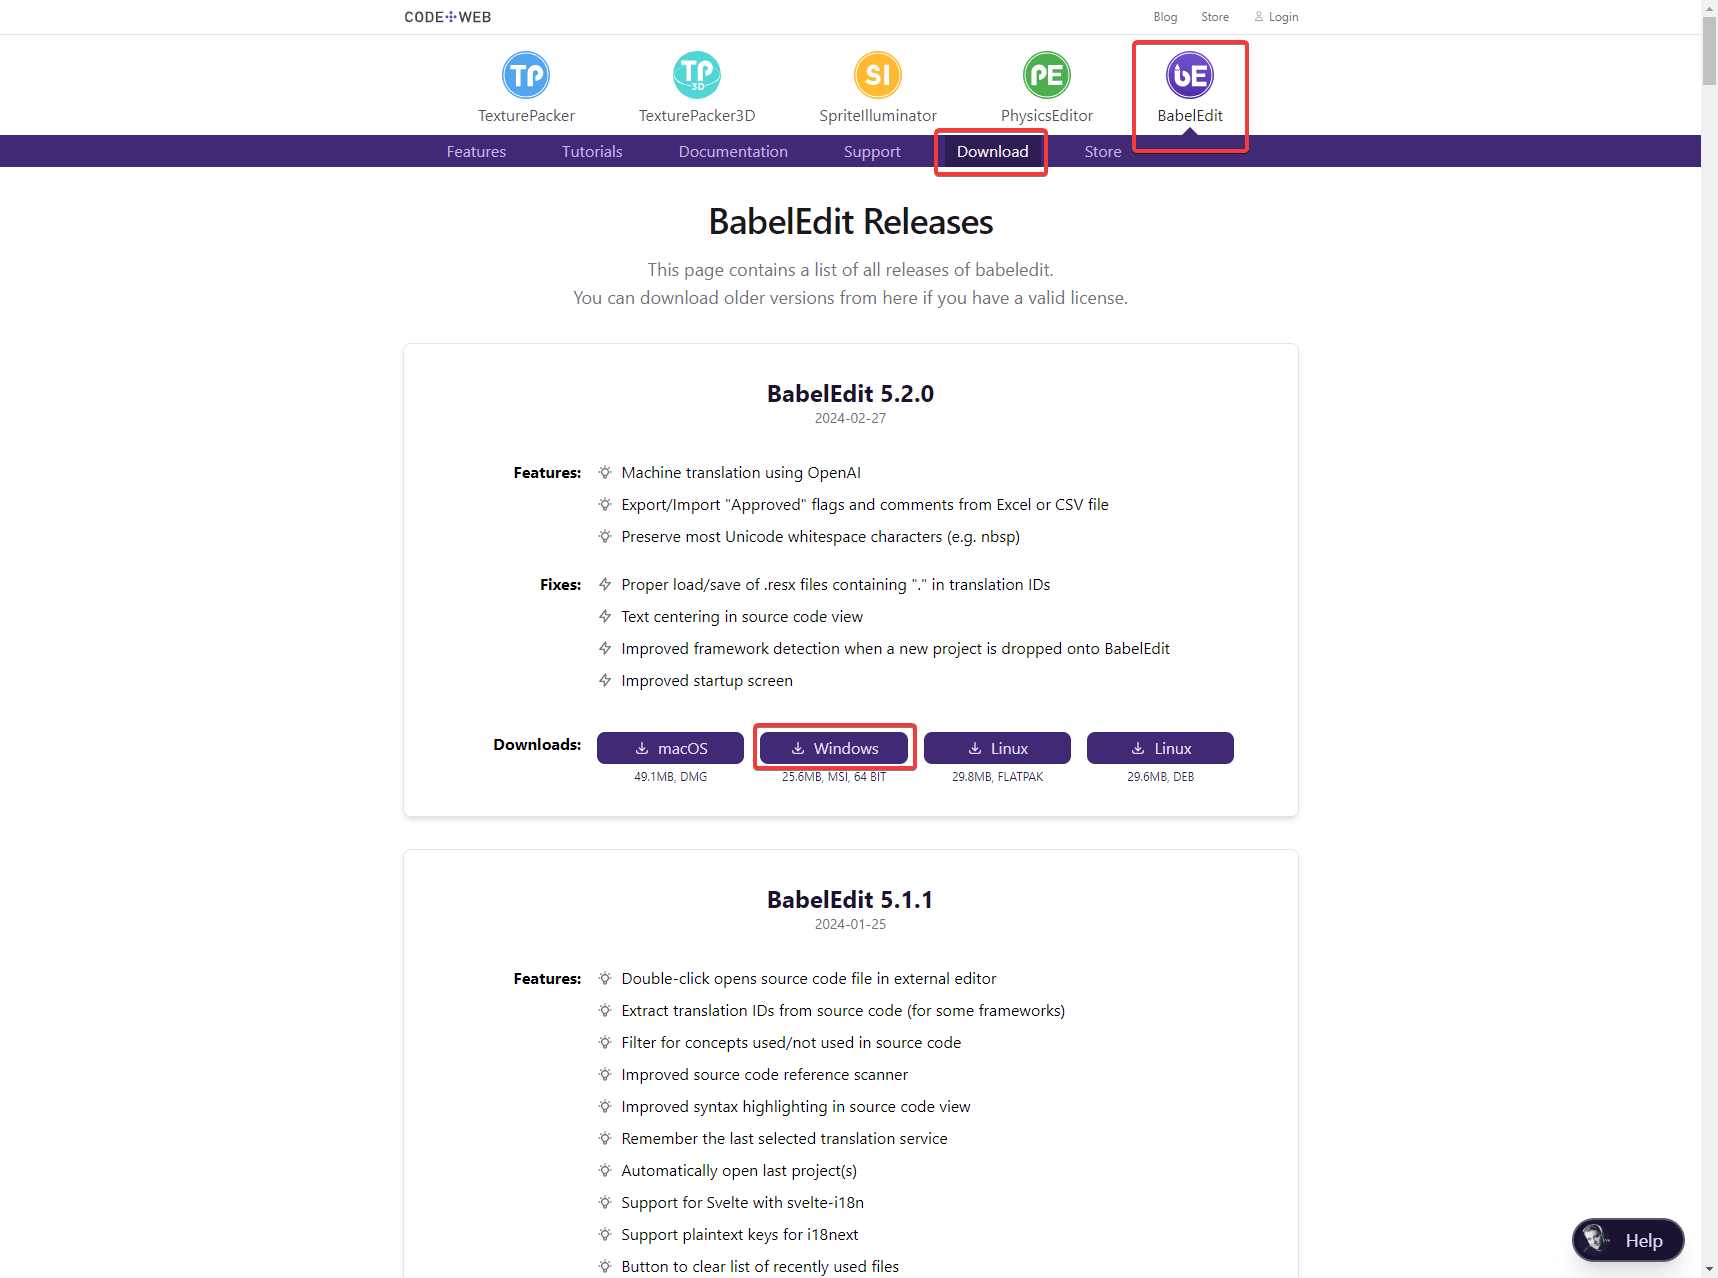
For Windows, we download an .msi file. Click it to open the installation wizard.
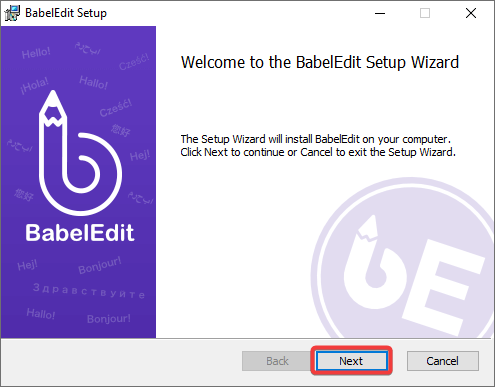
On the first screen of the installation wizard, we can click Next.
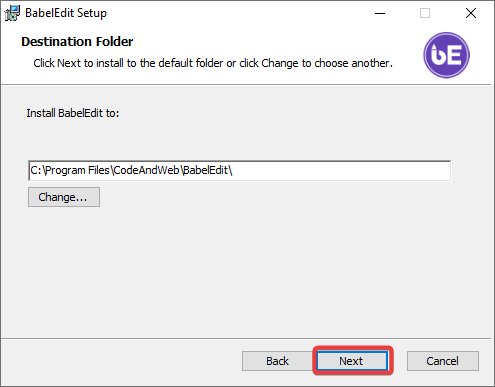
Afterward, we can select the installation path. I prefer to use the default path suggested by the installer but feel free to change it to your liking. Click Next to continue.
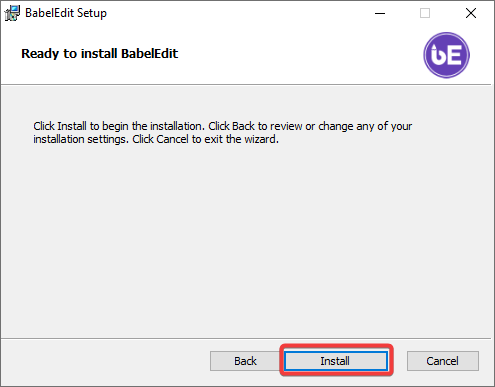
After selecting the path, click Install to start the installation.
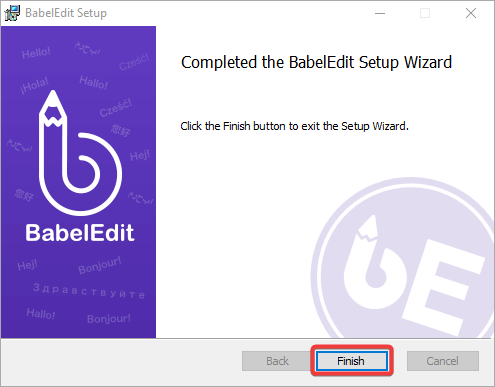
Finally, the installation will start, and once it is finished, you can click the Finish button.
After installing BabelEdit we can continue by connecting our project.
Configuring BabelEdit to Work With Flutter Translation Files
When opening BabelEdit you will notice that we have a lot of options. For Flutter depending on your internationalization approach, you can either choose Flutter ARB or Generic JSON. For the tutorial, we will select Generic JSON, but you can also follow along if you choose Flutter ARB.
These options only make it easier to set up your project inside BabelEdit.
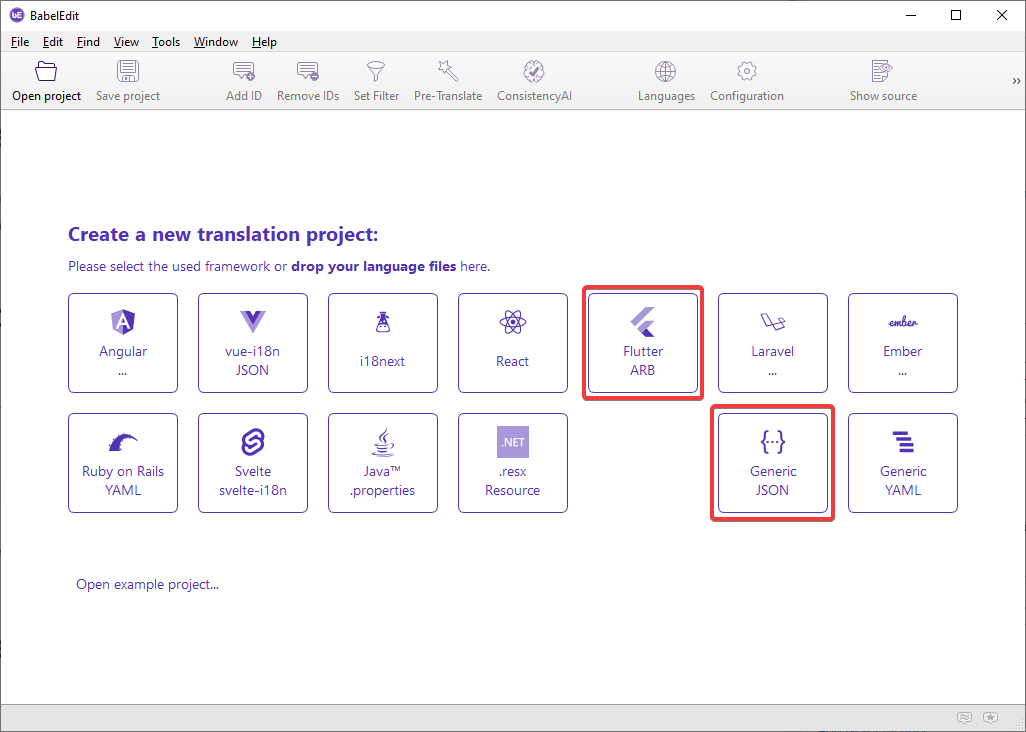
After you have chosen either Flutter ARB or Generic JSON. You will end up on the following screen where you can add your translation files.
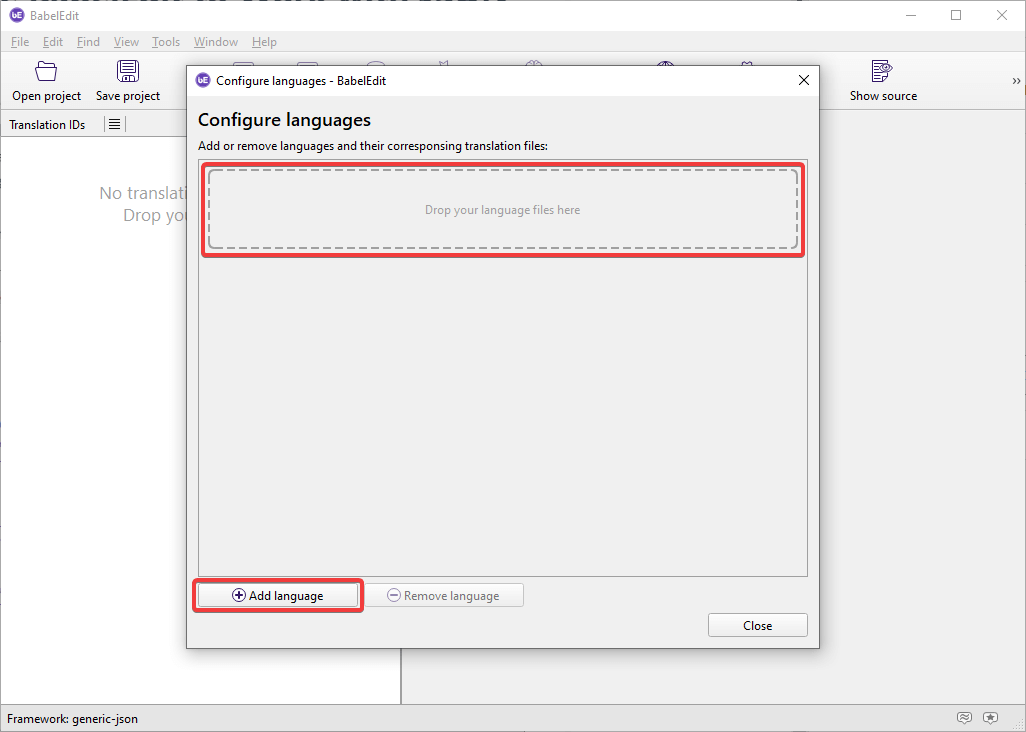
The easiest way is to drag your language files into the dropbox. You can also manually select a language and add the corresponding translation file by using the Add Language button.
Upon dragging your files inside the dropbox or clicking the Add language button you will see the following screen. Here, you can enter the Package name and select the language for each file. Finally, click Ok to continue.
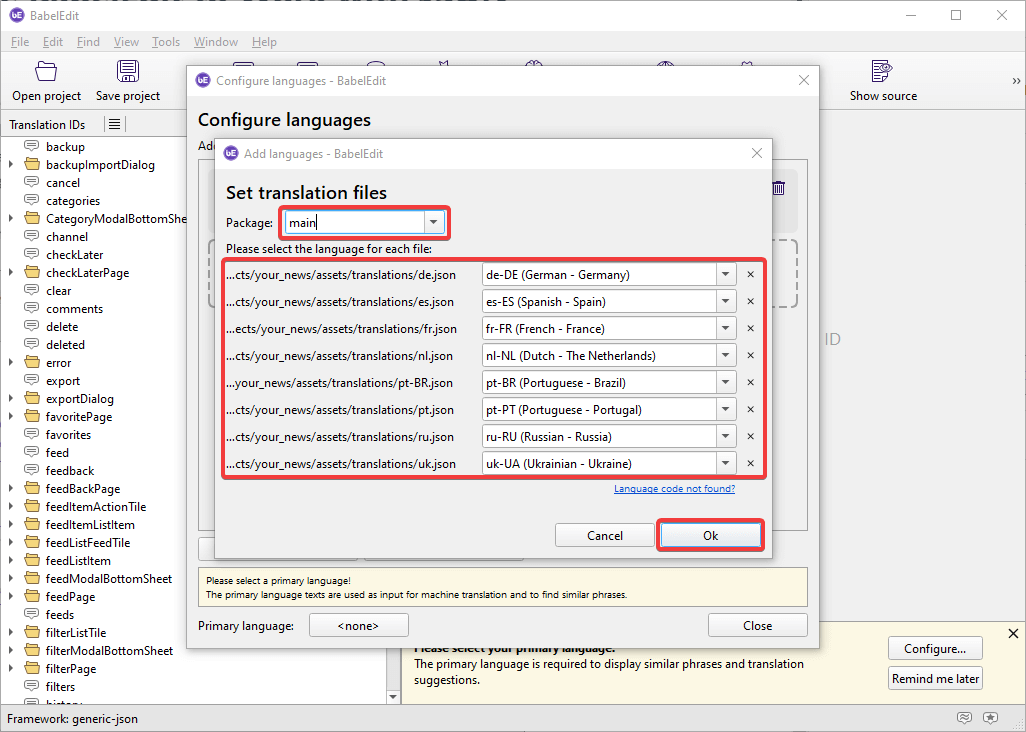
Once you have added all the languages with their corresponding files, the next step is to set the primary language. The primary language will be used as the source for translation because BabelEdit includes a built-in translator. To set the primary language, click the button currently displaying <none> at the bottom.
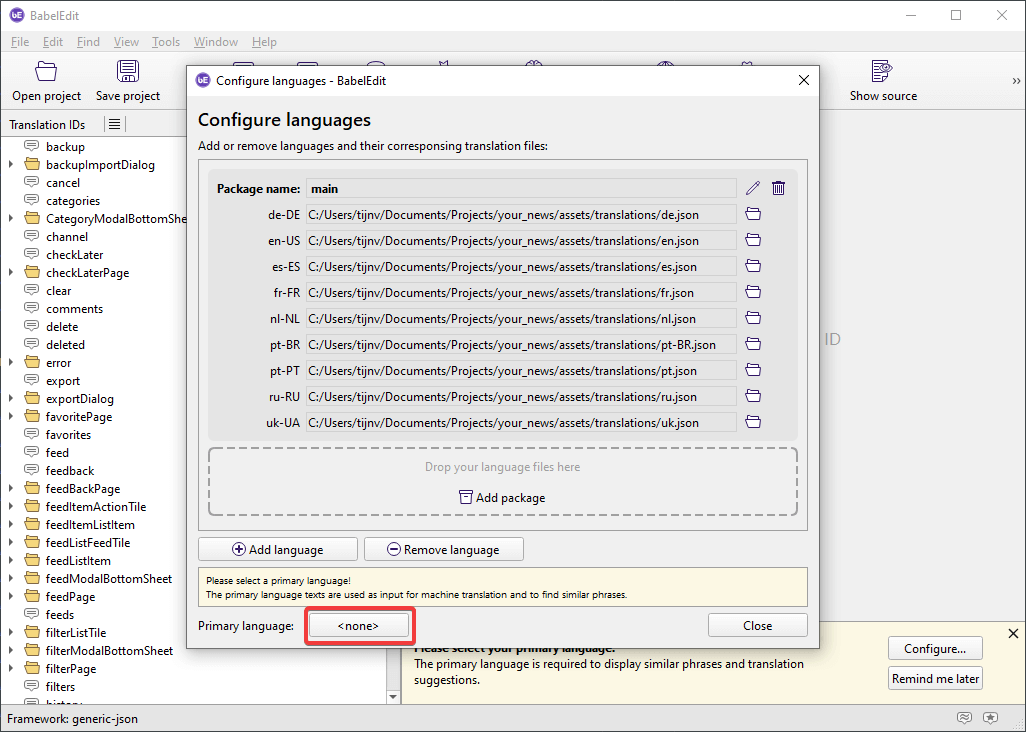
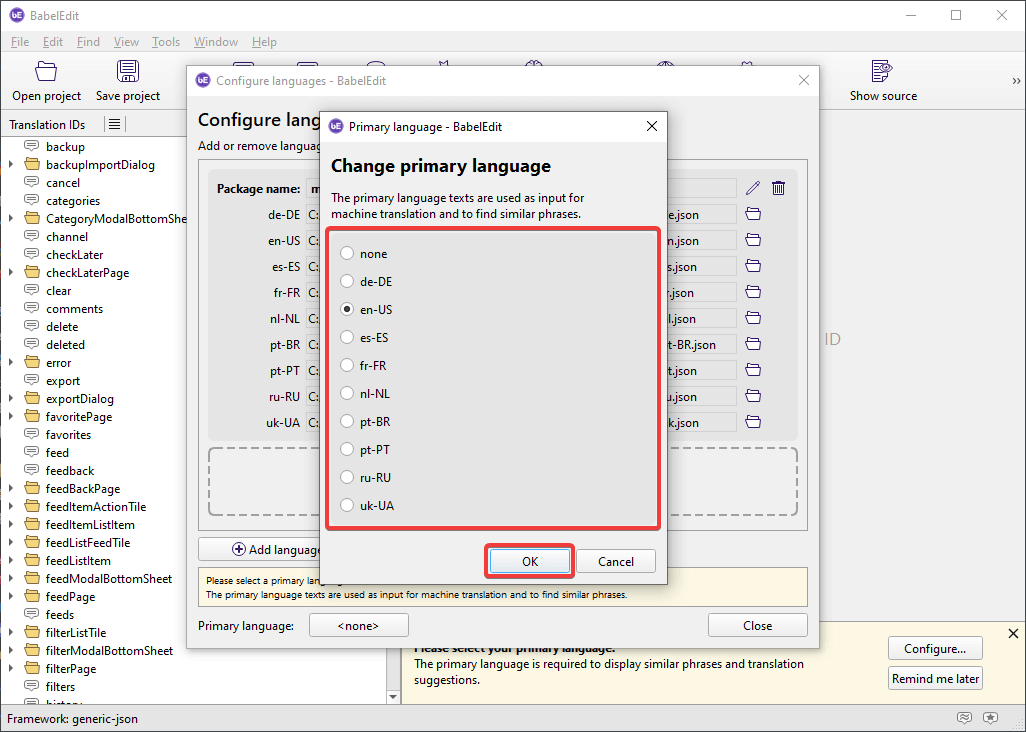
After clicking the primary language button, you will be able to choose the primary language from the list of available languages. Once you have selected your choice, click Ok.
Now that the primary language is selected, you will see that the value inside the button has changed to your primary language. To finish the configuration you can click Close.
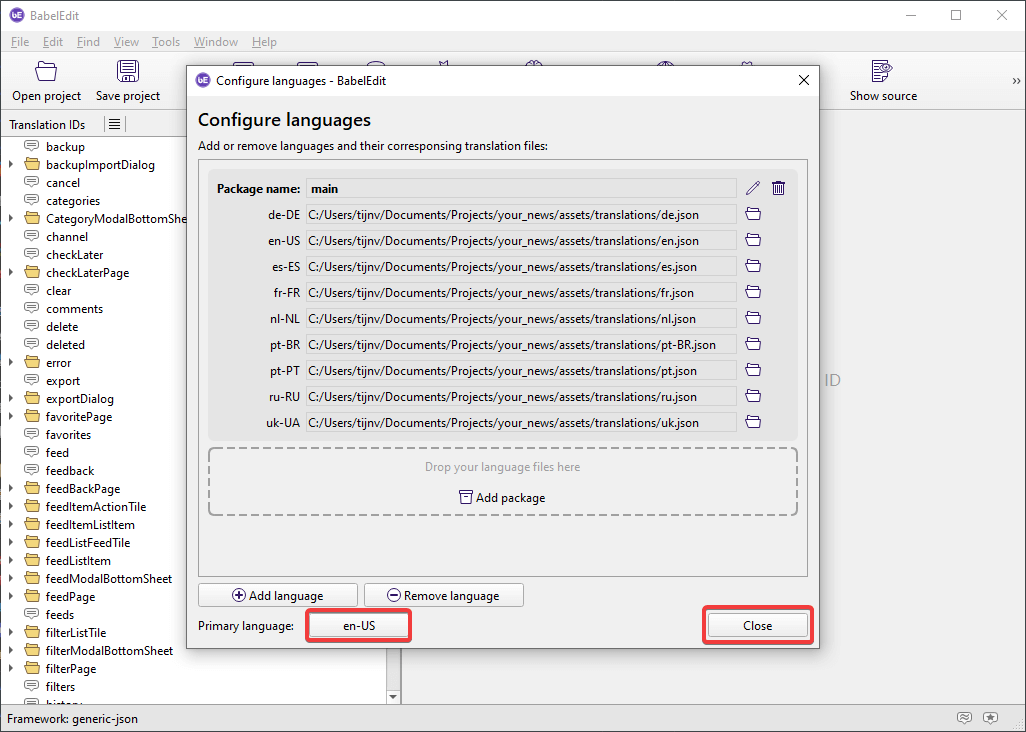
After closing the configuration screen, we are ready to begin adding translation entries to our translation files.
Using BabelEdit to Manage Translation Files in Flutter
Now that BabelEdit is connected to our Flutter project and the languages are configured, we can begin managing translations. First, we will discuss how to navigate through your translation files effectively. Next, we will add new entries to the language files. Finally, we will use the built-in translator to translate those new entries.
Navigating Translation Entries
The translation files used in this tutorial already have many translations. When we open the first translation, you can see how BabelEdit manages translations.
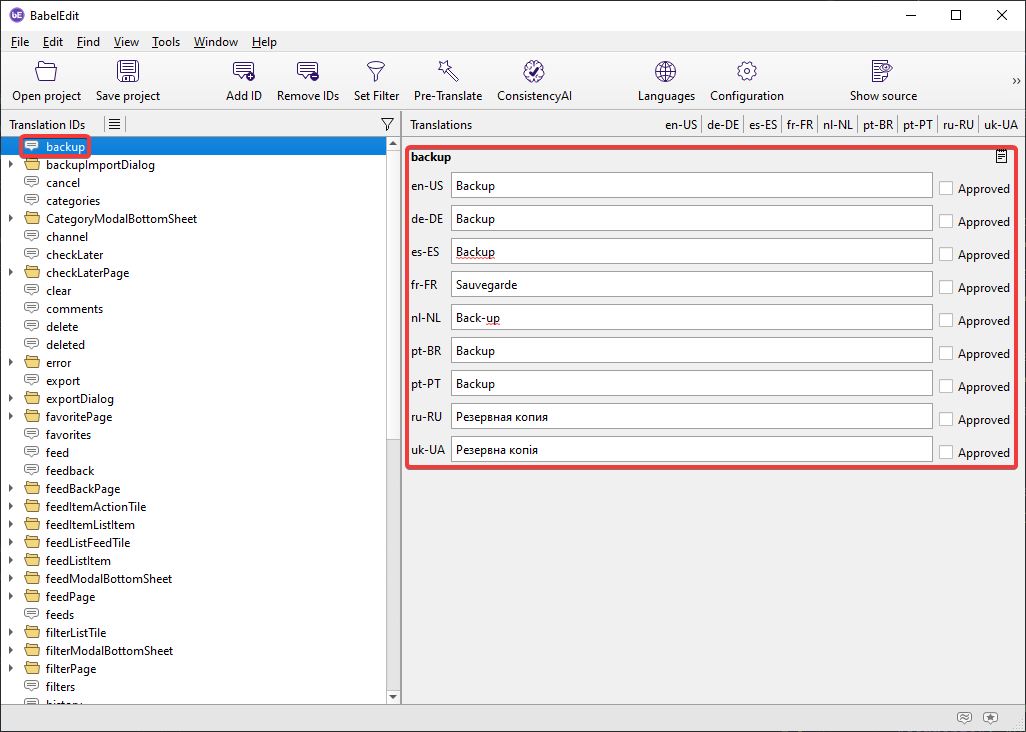
For each translation entry, BabelEdit will show you the same translation entry in all the other languages.
If you look on the left side, you will notice that BabelEdit organizes the JSON using directories and files.

For context, this is what the first two JSON entries look like.
{
  "backup": "Backup",
  "backupImportDialog": {
    "dialog": {
      "content": "Restoring from a backup will override your current feeds, favorites, check later, history and settings. Only .json files are allowed.",
      "title": "Restore Backup"
    },
    "file": {
      "empty": "The selected file is empty.",
      "invalid": "The selected file is invalid.",
      "notSelected": "No file was selected.",
      "success": "The backup is restored successfully."
    }
  }
}
As you can see the first entry is turned into a file in BabelEdit and the second entry is divided into directories and files. This makes it very easy to navigate through.
Adding Translation Entries
With BabelEdit we can also add new translation entries. We can do this by using the Add ID button.
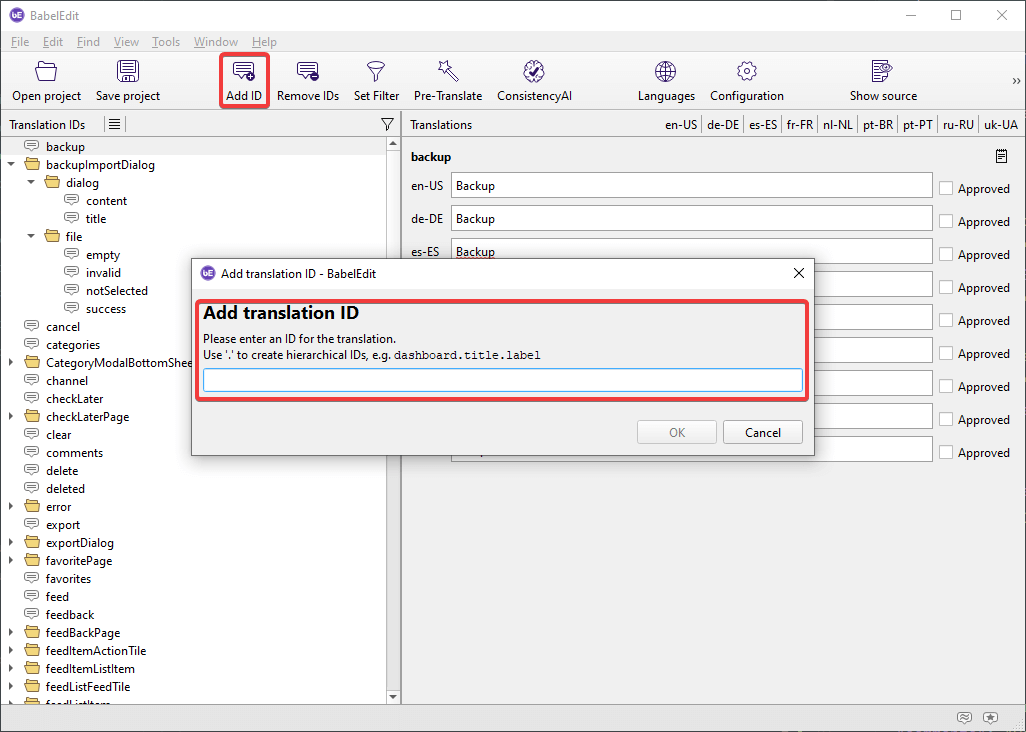
However, I prefer to add them manually using the JSON file of the primary language. Typically, I open this file in my IDE and then add the new entries.
Below are the new entries, we will be working with. If you are unfamiliar with Git the new entries are shown in green.
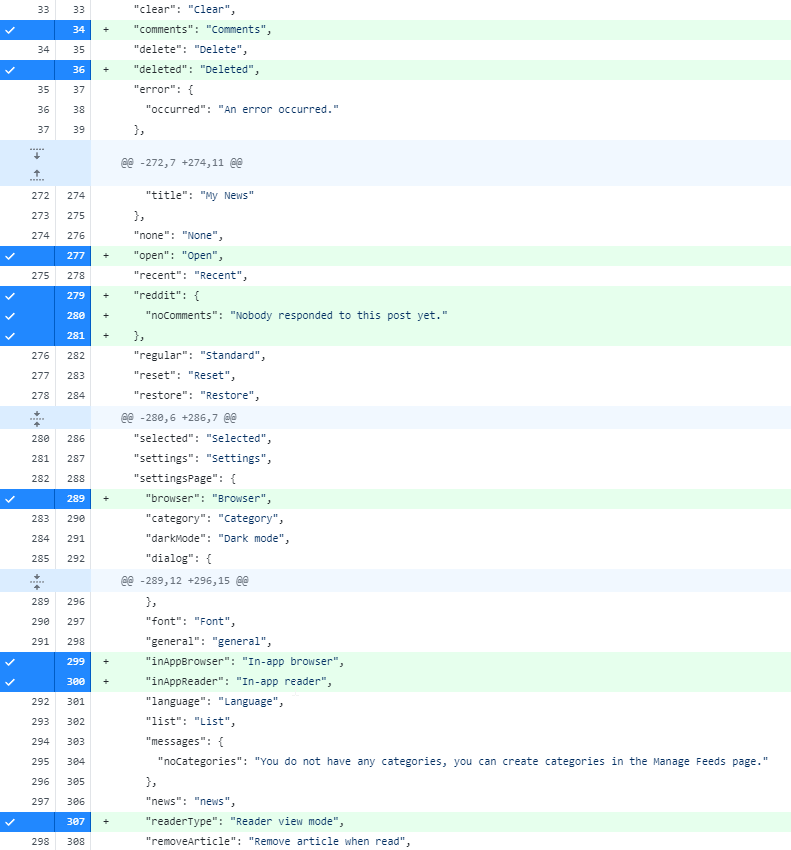
The screenshot above is taken from GitHub Desktop. This feature is not available within BabelEdit.
Now that we have added the new entries to our primary language file, we can continue by filtering the Translation IDs to only display untranslated ones. To do this, click the filter icon button in BabelEdit, and then select Show only untranslated from the options.
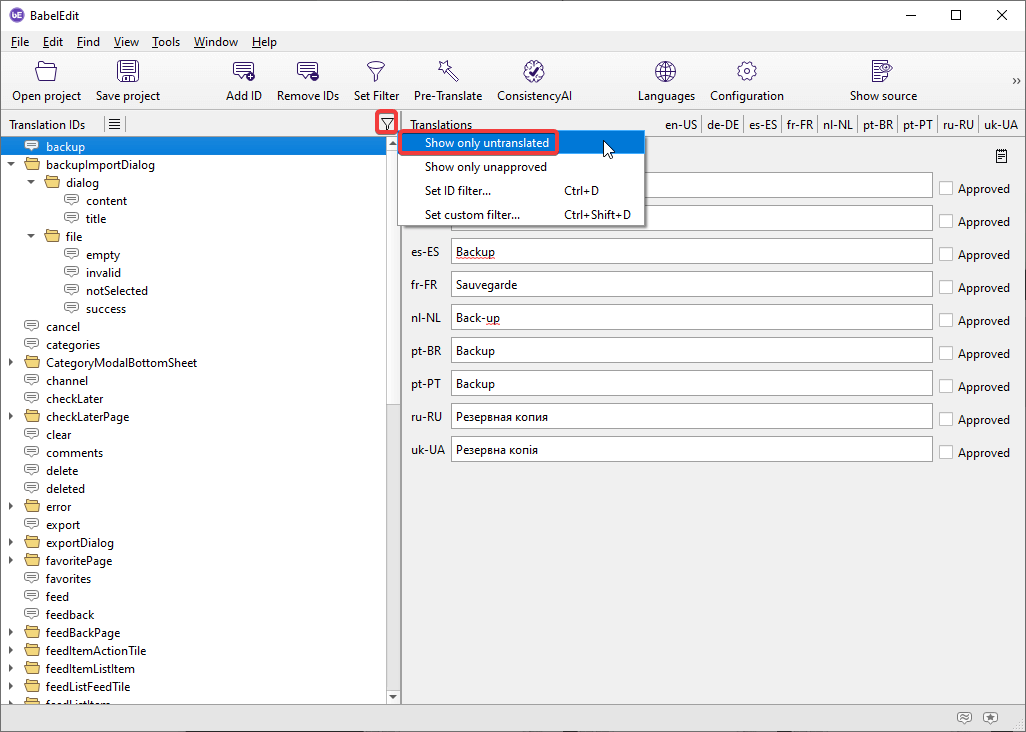
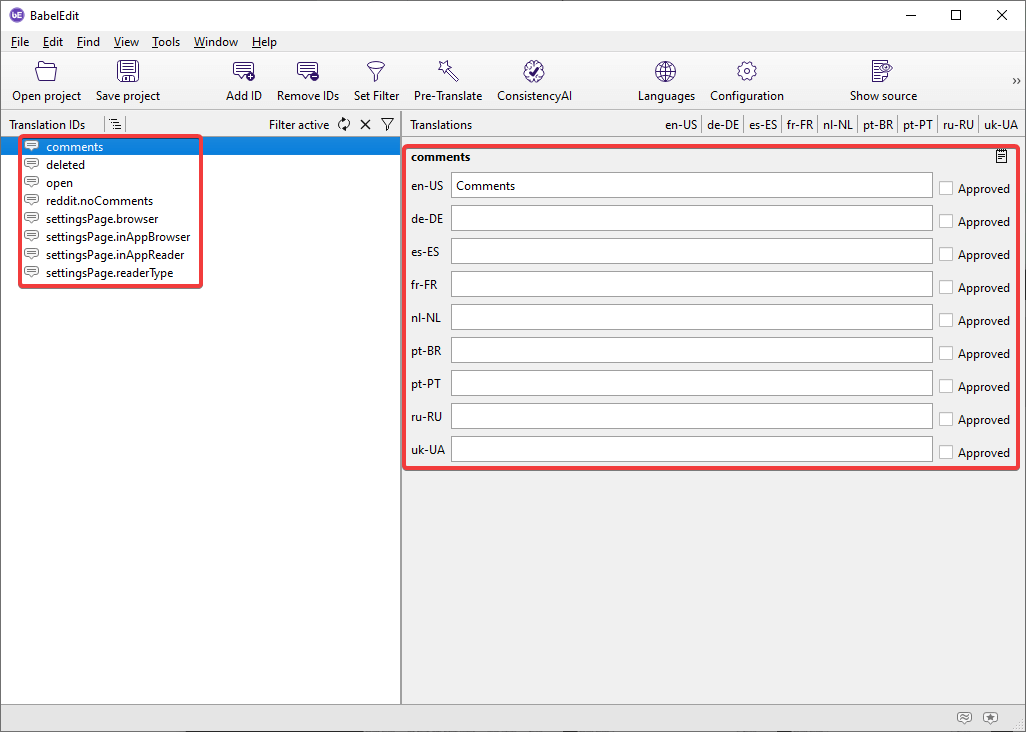
After applying the filter, you will now only see the untranslated entries.
We can now continue by translating the added entries using the built-in translator.
Translating Entries Using the Built-in Translator
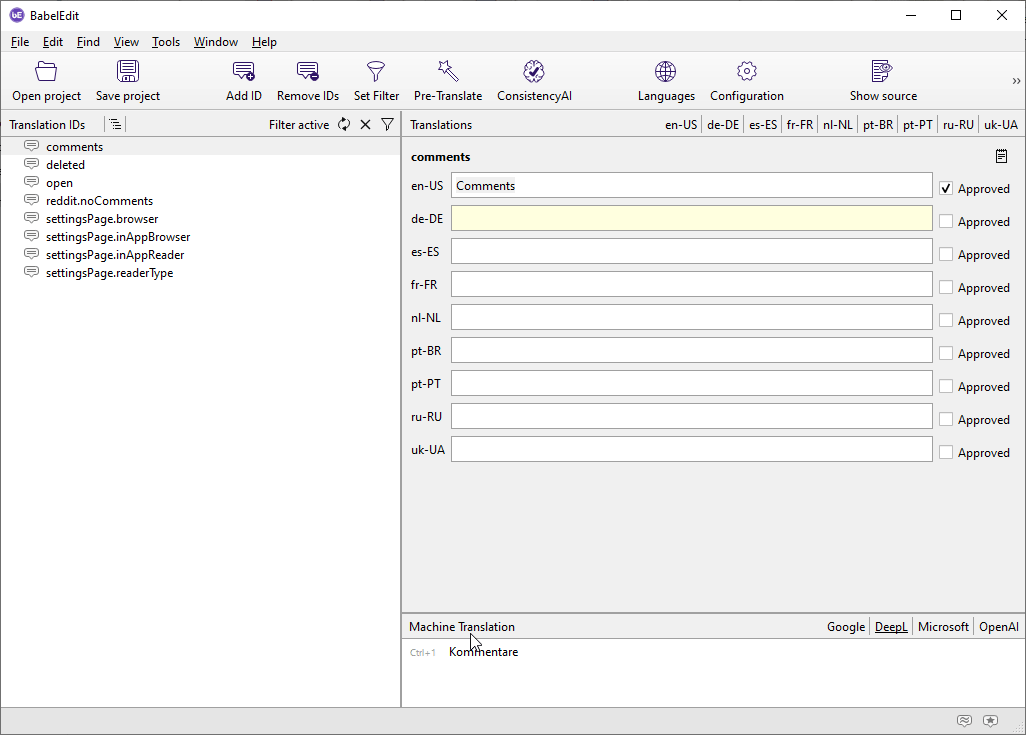
To use BabelEdit to its full potential we can use the built-in translator. If you click the most right button on the bottom of the screen, you will open up the translator feature. The translator feature provides translations from Google, DeepL, Microsoft, and OpenAI. BabelEdit also lets us track translation statuses with the Approved button.
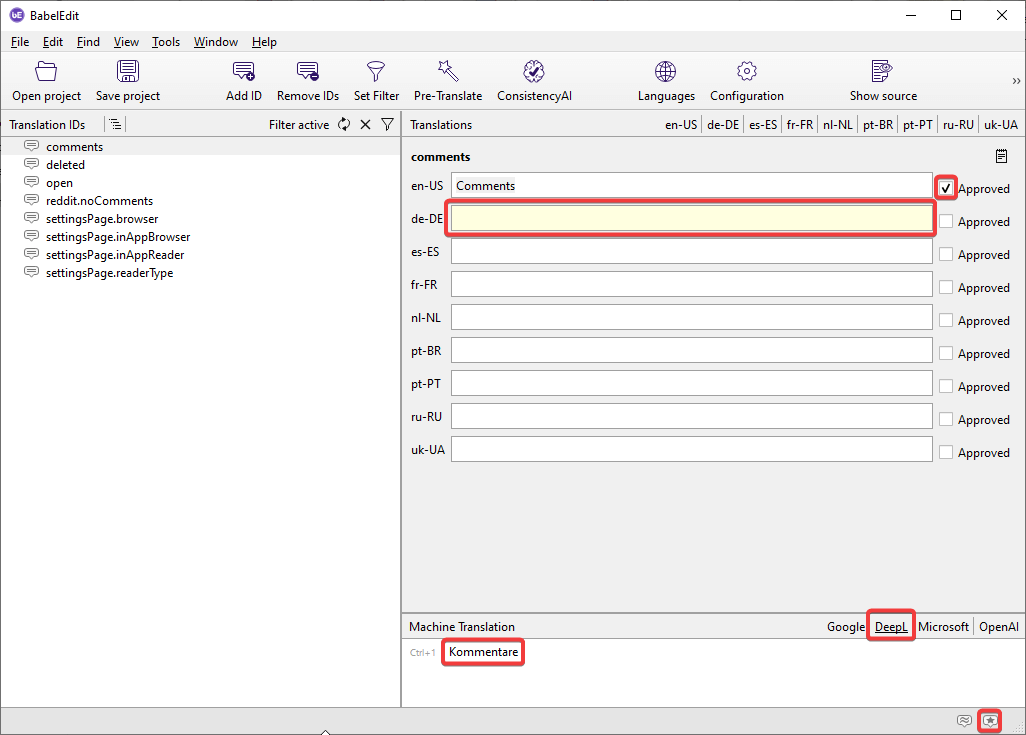
To begin translating, click on the empty field you want to translate, and then click on the translation at the bottom.
As shown in the above GIF, translating your entries can be made very simple using BabelEdit.
Keep in mind that using the translation feature uses Translation Credits. When you buy a User License you will get 125.000 Translation Credits.
Benefits of Using BabelEdit to Manage Flutter Translation Files
Using BabelEdit greatly simplifies managing multiple languages, especially as your application grows larger. Here are the benefits I find with BabelEdit:
- Simplifies working with multiple languages.
- Provides built-in translators.
- Simply track the status of translations.
- Easily identifies untranslated entries.
- Navigate through translations easily.
- Supports both
.arband.jsonfile formats.
Although BabelEdit is not free, the time saved by using it justifies the cost for me. Especially when managing 9 different languages, doing this manually is very challenging and prone to forgetting translations.
Conclusion
Managing the translations of your internationalized applications can be very challenging. However, the management of your translations can be simplified by using BabelEdit. BabelEdit offers features to help you oversee your translations, easily add new ones, and even use its built-in translator for translations.


