Instead of using a physical device to test your application on Android, you can also use an Android emulator. An Android emulator is a virtual device that runs on your computer. Android emulators are very convenient when you do not have a physical device or want to test your application on different devices. In this post, you will learn how to set up an Android emulator on Windows.
Table of contents
Download Android Studio for Windows
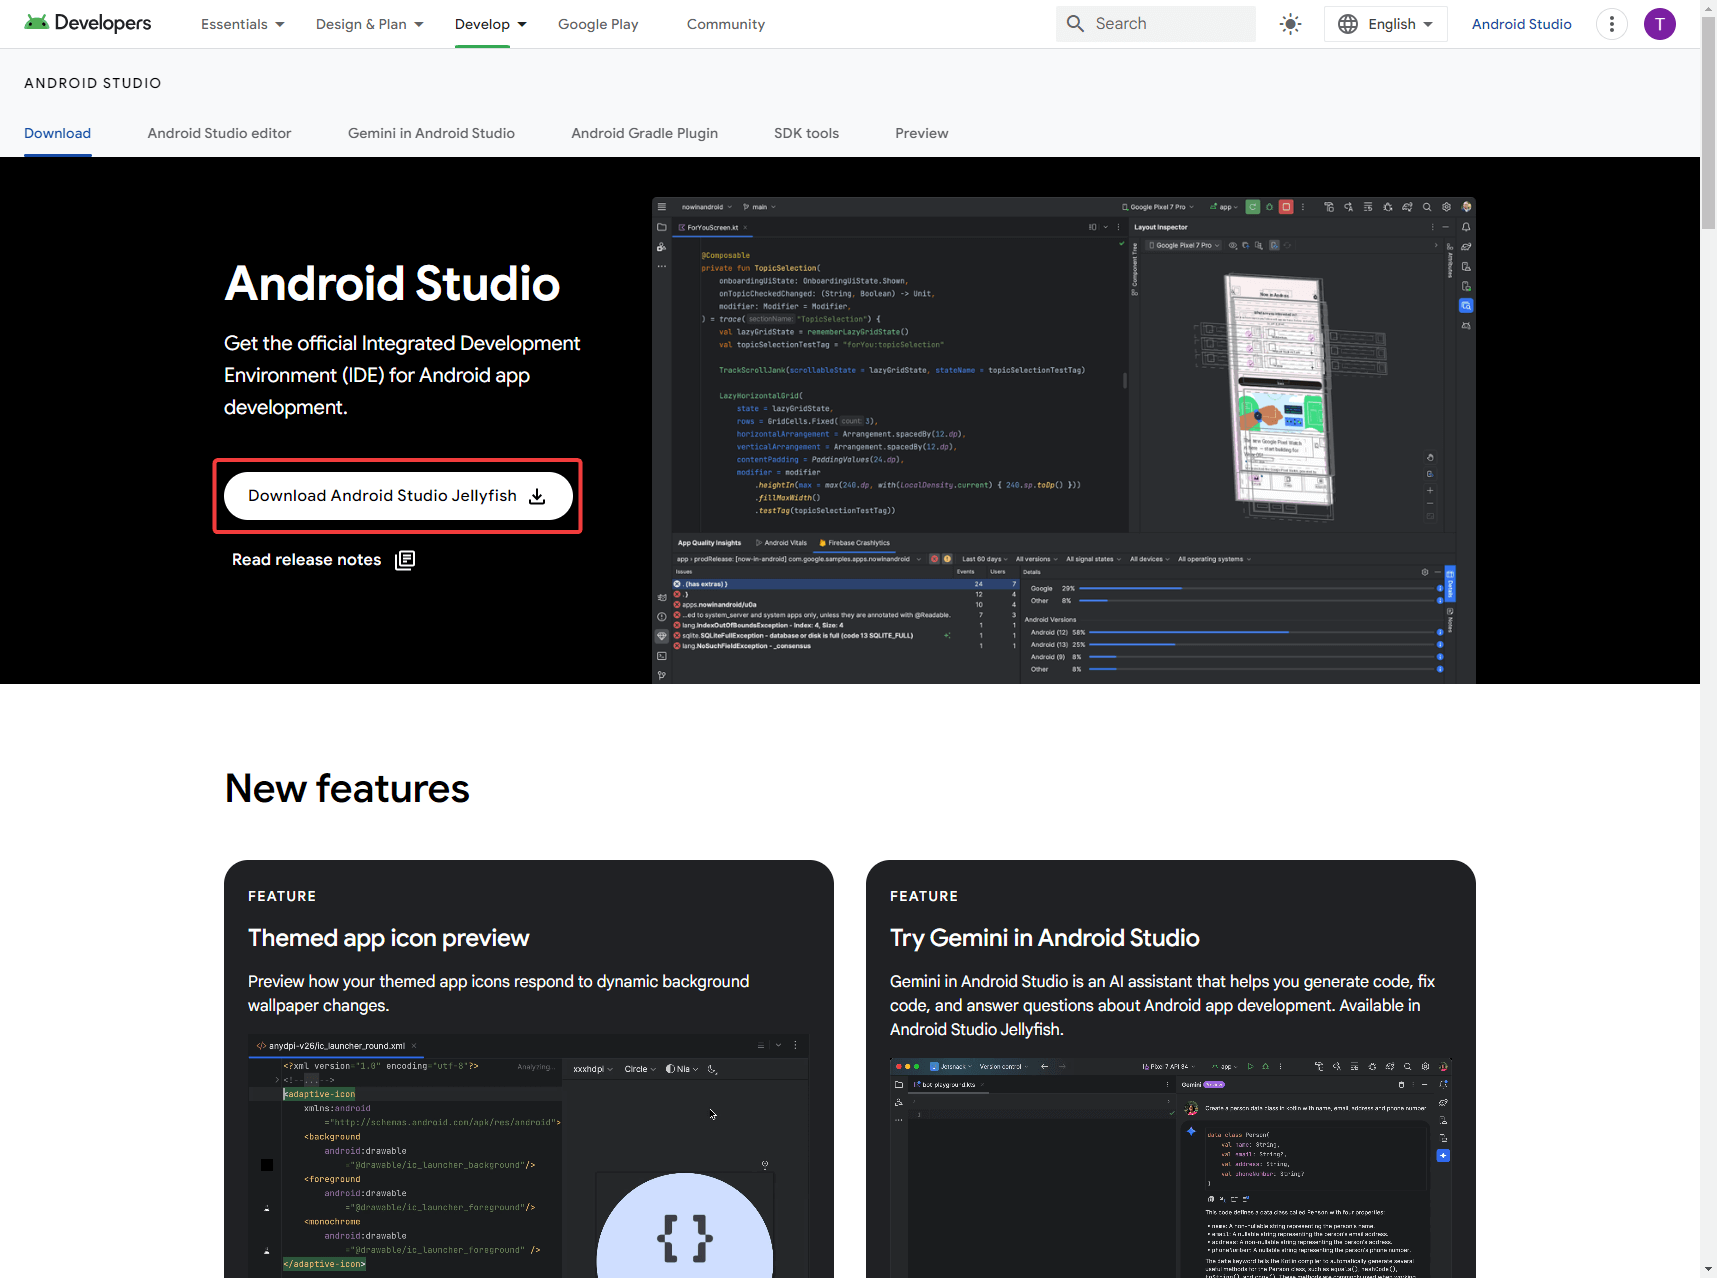
To start we have to download Android Studio, you can do this by clicking on the hyperlink, or navigating to this site: https://developer.android.com/studio.
Once you are on the website you can press the button saying Download Android Studio JellyFish.
For you the version can be different, Android Studio uses animals for their version names.
Once you have clicked on the button, a prompt will appear asking you to agree with the terms and conditions. Simply check the box to confirm that you have read and agree to the terms and conditions. Then, click the button on the bottom to start the download.

Install Android Studio
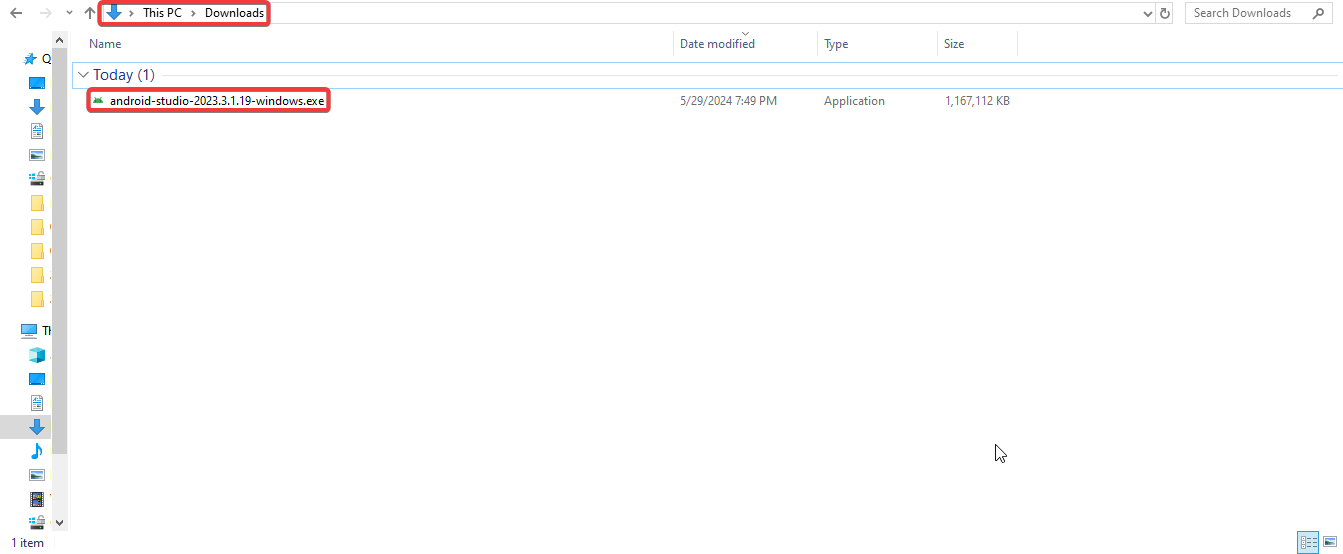
After you download the installer, you will find the Android Studio installer in your downloads folder. You can double-click on the installer file to open it.
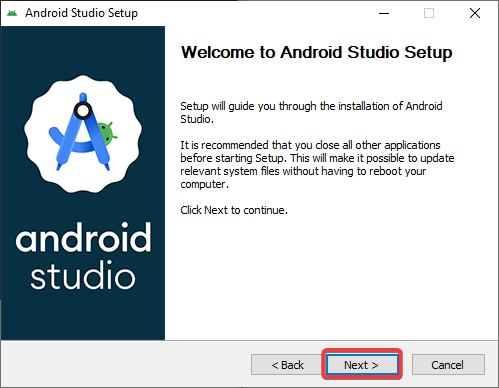
After opening the installer you will see the the first screen of the installer, click Next to proceed.
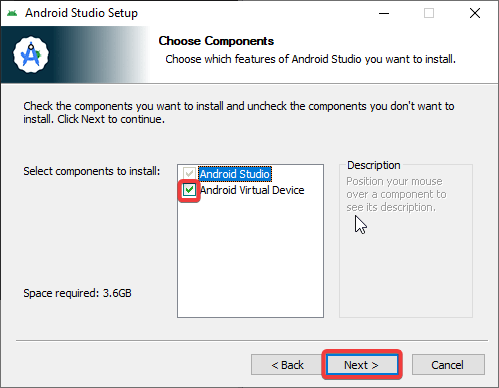
On the next screen ensure that the checkbox for Android Virtual Device is checked and click Next.
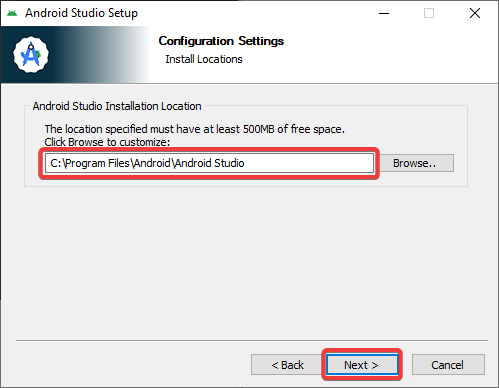
Next, you will need to choose an installation location. It is recommended to stick with the default path, afterward, click Next.
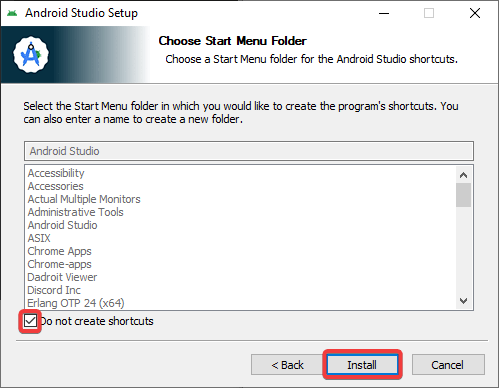
The option to create shortcuts is a matter of personal preference. You can decide whether or not to create shortcuts, click Next after making your decision.
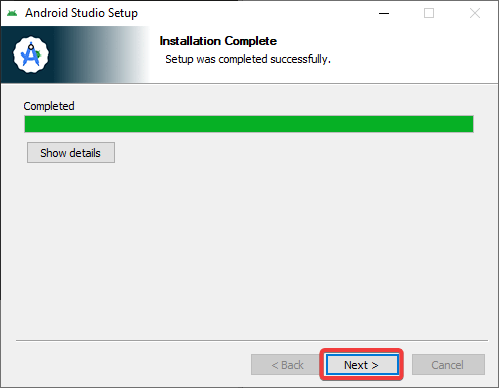
The installation process will now begin. It will take some time to complete, when it is finished you can click Next.
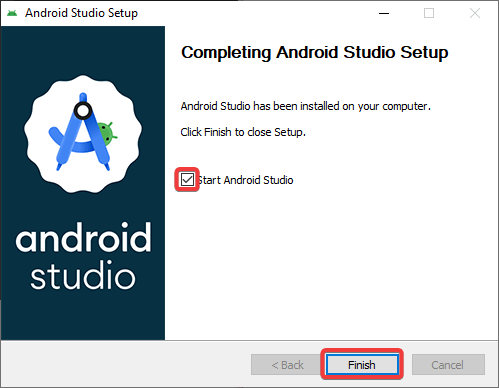
Now we have successfully installed Android Studio. To continue with setting up an Android emulator, check the box that says Start Android Studio and click Finish.
Setup the Android Emulator
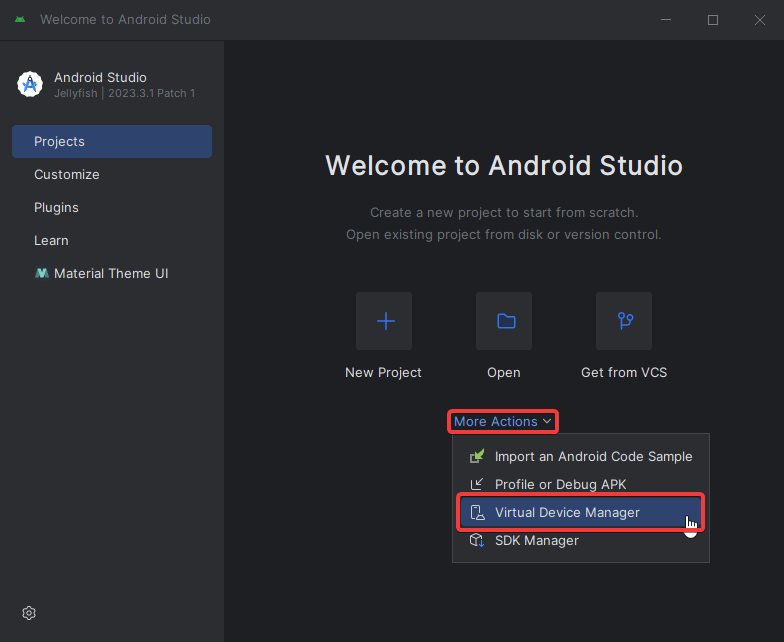
After opening Android Studio for the first time, we will see the below start screen. Click on More Actions and then select Virtual Device Manager to open the Device Manager.
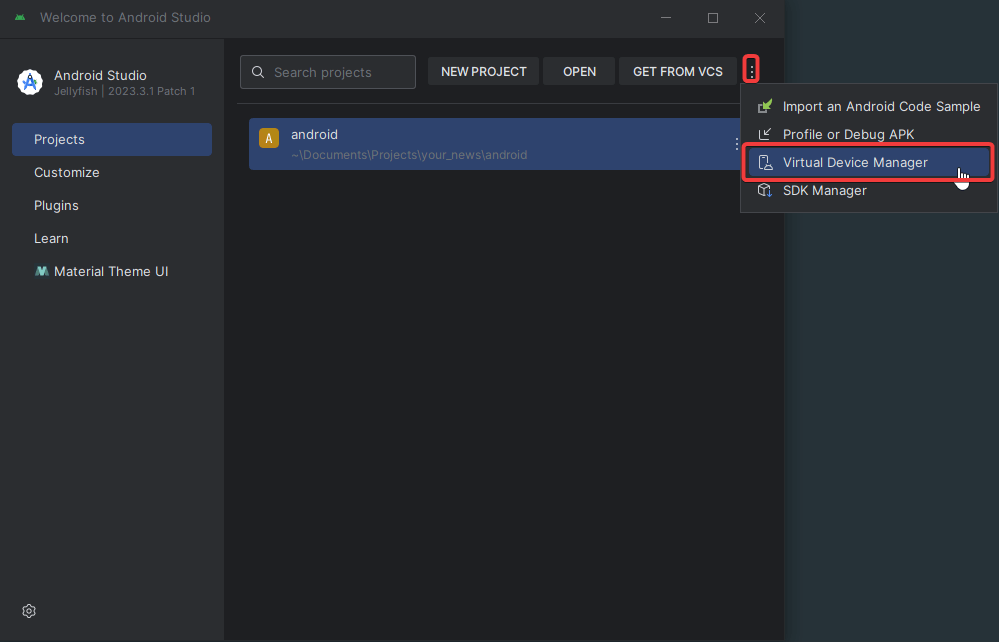
If you have reinstalled Android Studio, your screen will look different. In this case, click on the three dots located on the right side and choose Virtual Device Manager to access the Device Manager.
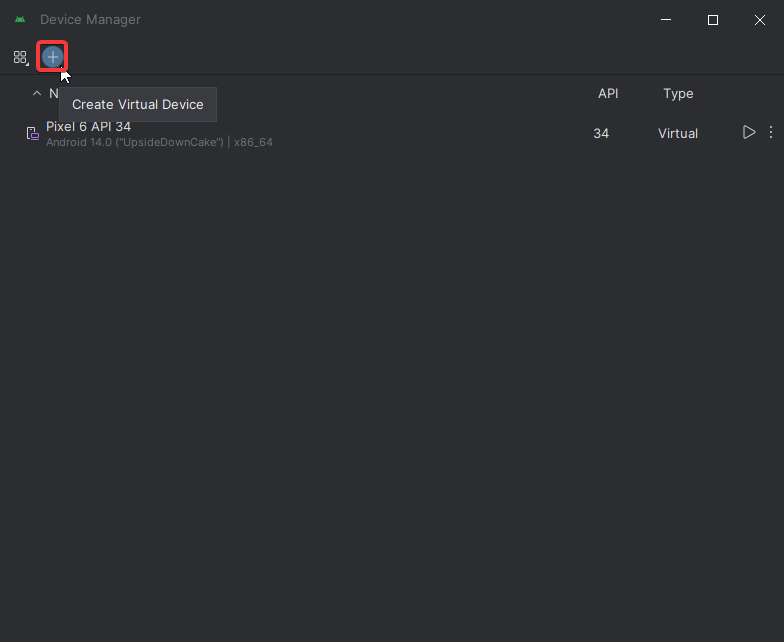
Once we are in the Device Manager, we can click on the + button. In the screenshot, you can already see that I have created an emulator before, for you the list will probably be empty.
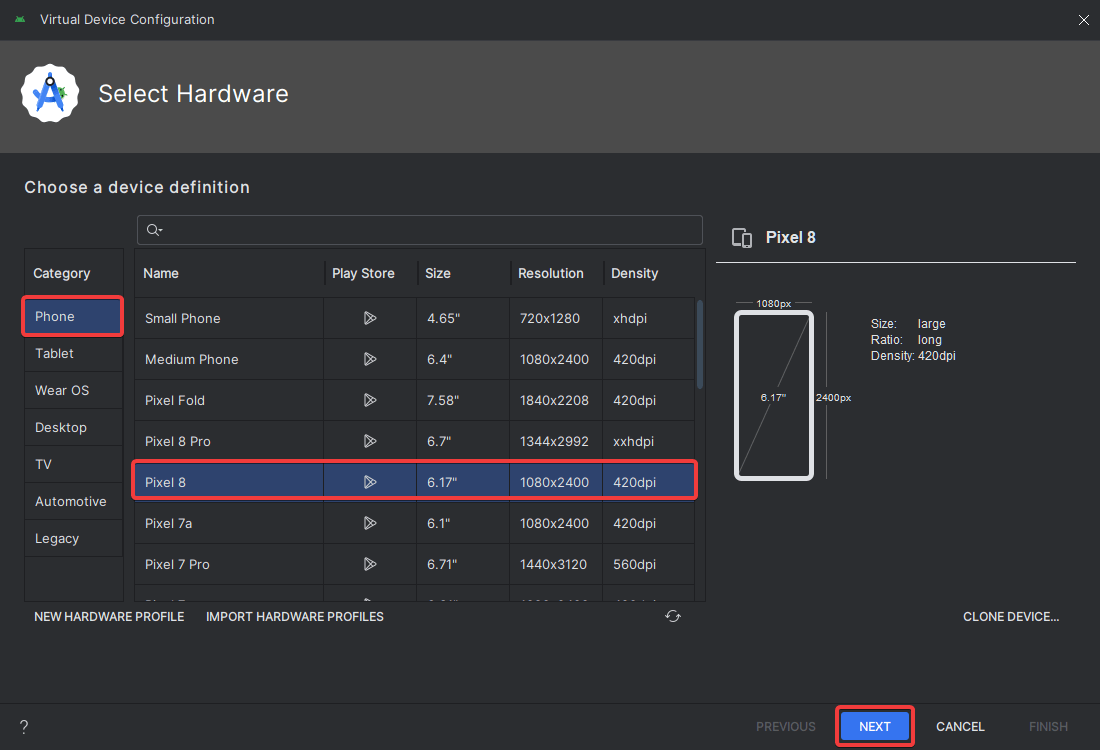
In this screen, we can select the device we want to emulate. We want to go with Phone and I personally selected the Pixel 8. However, feel free to choose any device that you want. Once you have made your decision, click Next.
Afterward, we will have the option to select the system image we want to use. I recommend choosing the latest image available in the Recommended tab with a number as API Level.
This ensures that your project will work on the most up-to-date version of Android. Click the installer icon to install the latest image.
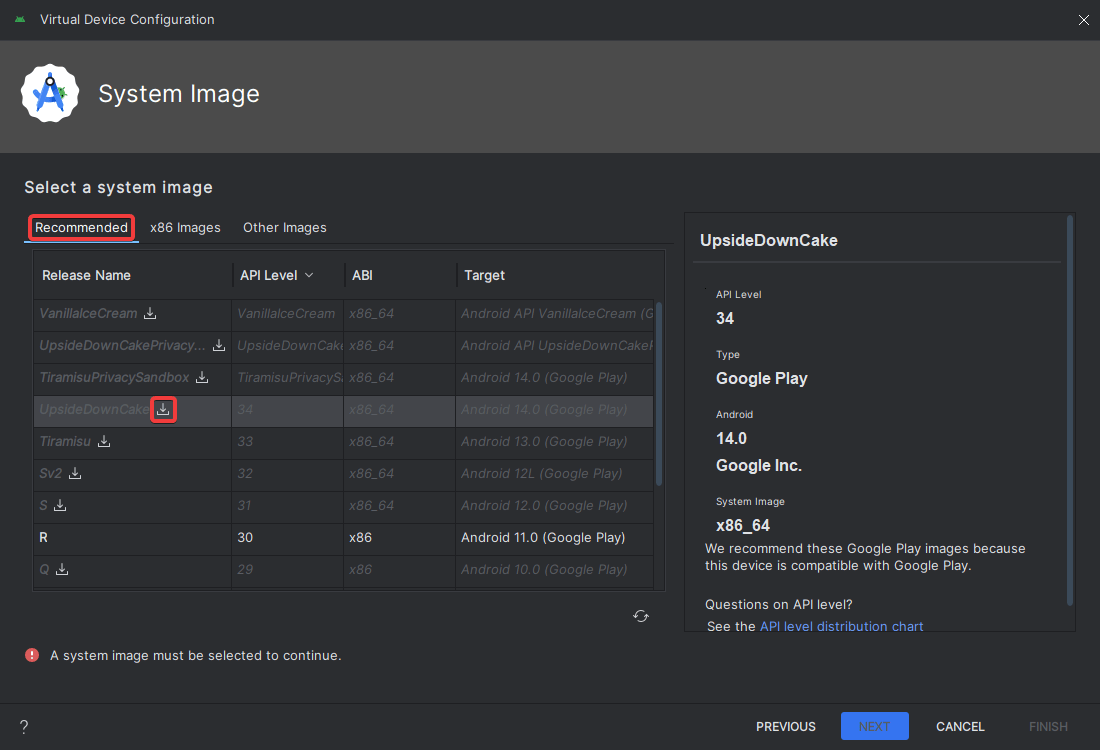
Wait for the installer to finish, and then click Finish.
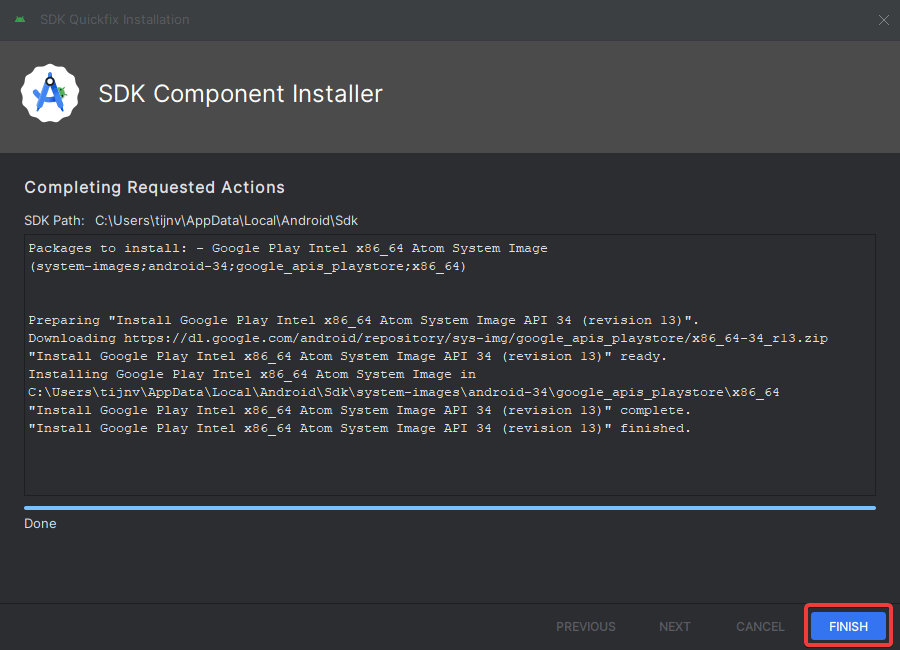
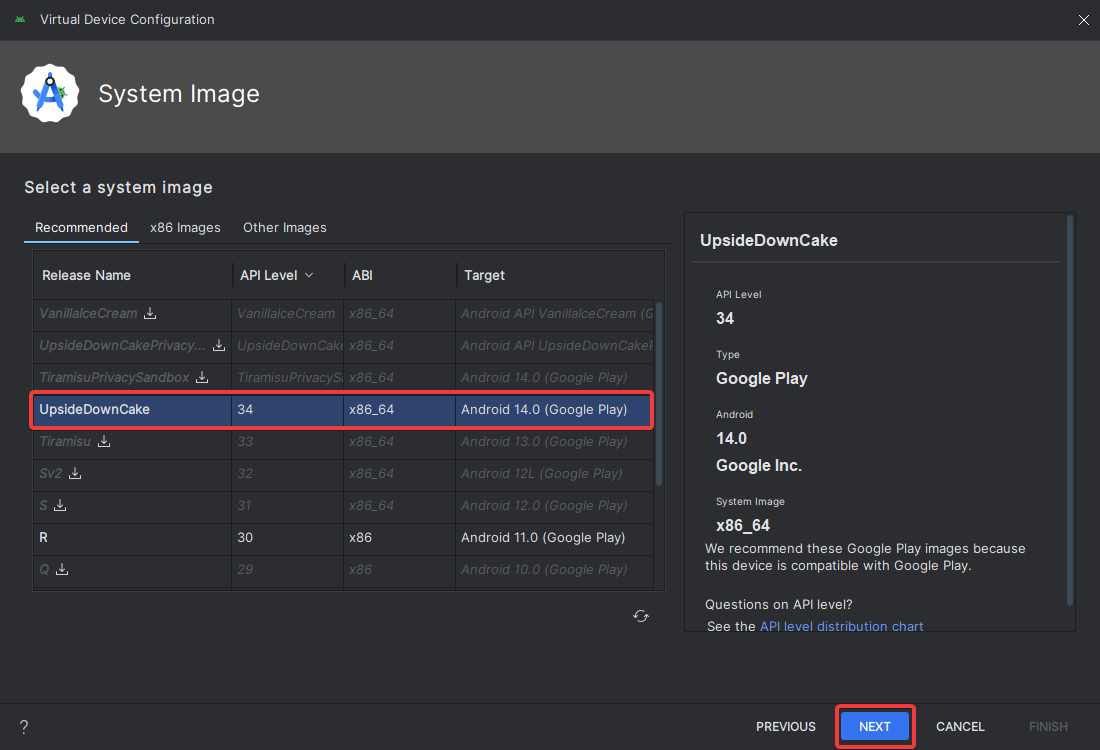
After the installation is finished you can select the image you installed and click Next.
On the last screen, you will have the opportunity to customize a few options.
- You can choose the startup orientation for your emulator. I prefer portrait mode, but you can switch it to landscape if you like.
- For the Emulated Performance, you want to go with Hardware if you have the option to select it (in my case it was fixed to Automatic). This setting ensures that the emulator uses your graphics card, which will be the most performant.
- You can select the Enable Device Frame option to have your emulator resemble the frame of a mobile phone.
You can also click on SHOW ADVANCED SETTINGS to have a look at the additional settings. In these settings, you can tweak settings like how much RAM is used, and so forth. I usually find that the default settings work well for performance, but feel free to adjust them if necessary.
At last, we can click Finish to finish setting up the emulator.

Open the Android Emulator
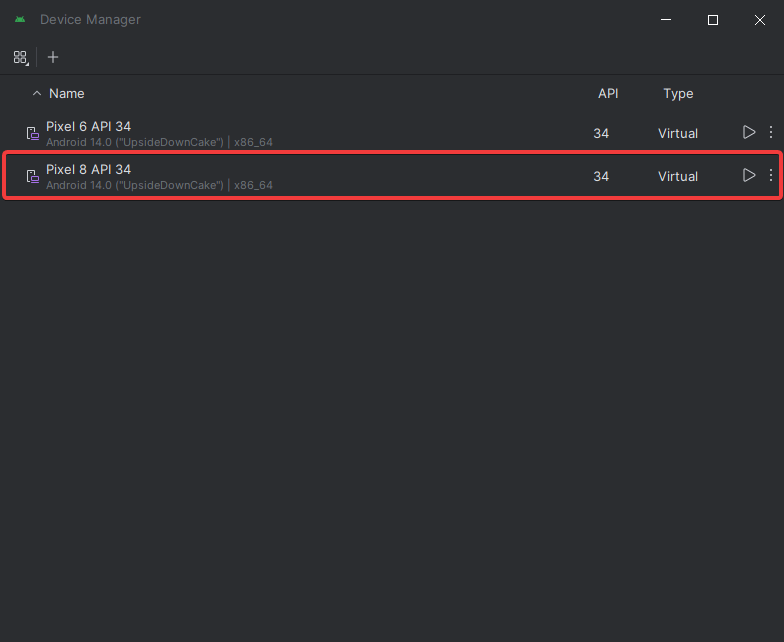
Once we have set up our emulator, it should appear on the Device Manager screen. To launch the emulator we can simply click the play icon on the right.
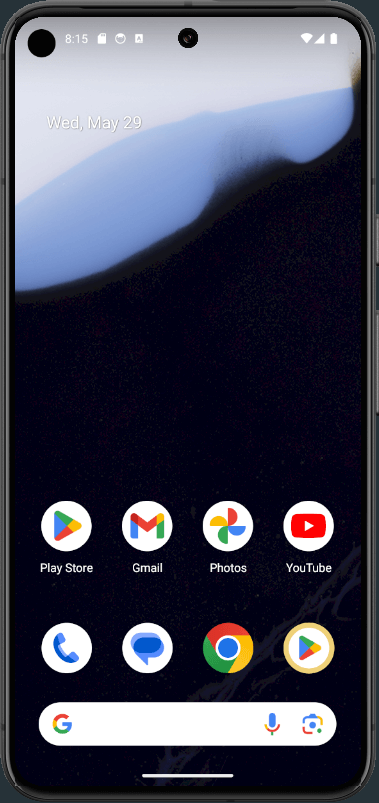
The initial loading of your emulator might take some time. Once it finishes loading, you will be greeted with the screen of the emulator, and you can start using it right away.
Conclusion
Setting up an Android emulator on Windows is easy as long as you know which options to select. By following the steps mentioned above, you downloaded and installed Android Studio, set up an emulator, and launched it. Now you can start testing your Android applications using any Android device.


