Launching your Android emulator with Android Studio is straightforward. However, repeatedly starting Android Studio just to use the emulator can be time-consuming, especially if you do not use Android Studio for your projects. Fortunately, you can launch the Android emulator directly from the terminal, bypassing the need to open Android Studio.
Table of contents
Find the ID of the Android Emulator
To launch our Android emulator from the terminal we first have to find the ID of the emulator we want to launch. This can be done either using Android Studio or using the terminal. Let us go over both approaches.
Using Android Studio
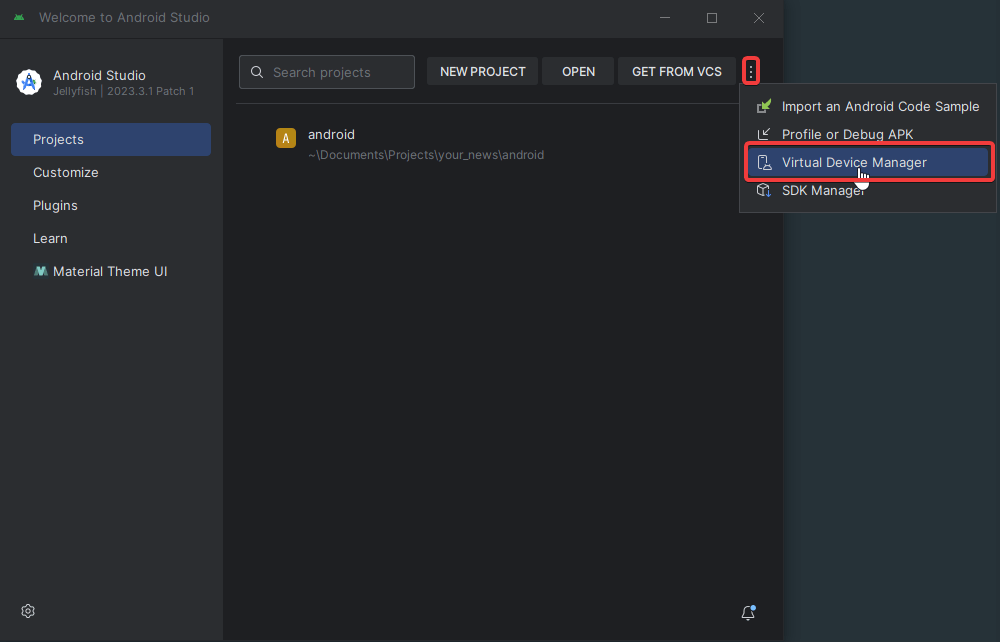
The first approach is to open the Virtual Device Manager in Android Studio. This can be done by opening Android Studio, clicking the More Actions button, and selecting Virtual Device Manager.
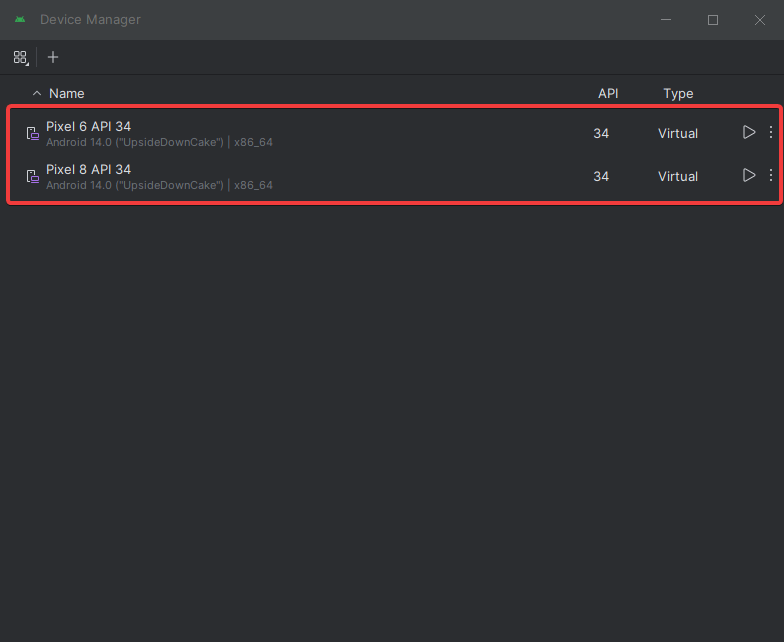
After these actions, you will see a list of your available Android emulators. If you have not set up an Android emulator yet, check out the following article: How to Set Up an Android Emulator on Windows.
To get the emulator ID, click on the More Actions button, then select View Details. This will open a scrollable window at the bottom.
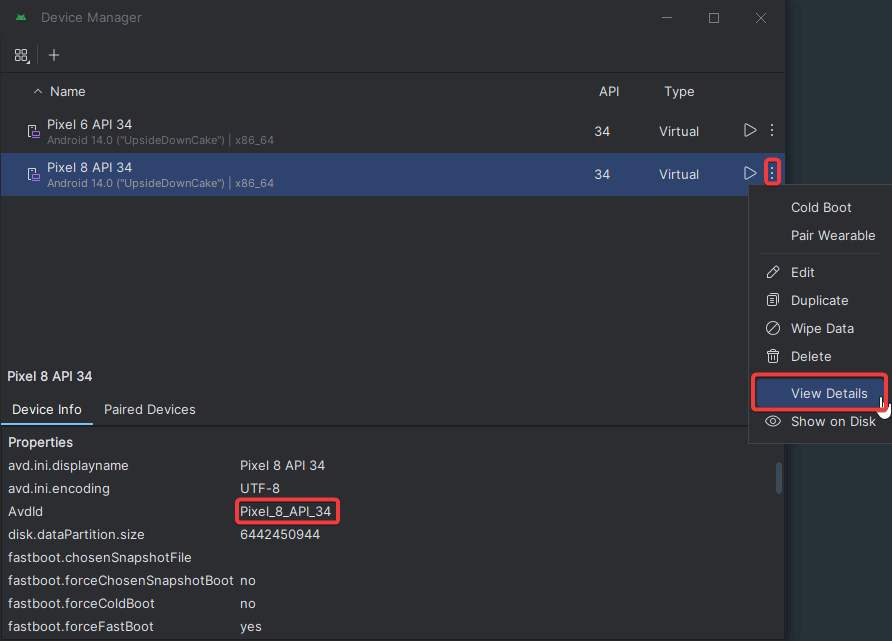
We are looking for the AvdId which will show the ID of the emulator which in this case is: Pixel_8_API_34.
Using the Terminal
Instead of using Android Studio, we can also get the ID using a terminal. First of all open a terminal, I will be using Windows Command Prompt.
The Windows Command prompt can be opened by pressing the Windows button on your keyboard and typing
cmdand pressing enter.
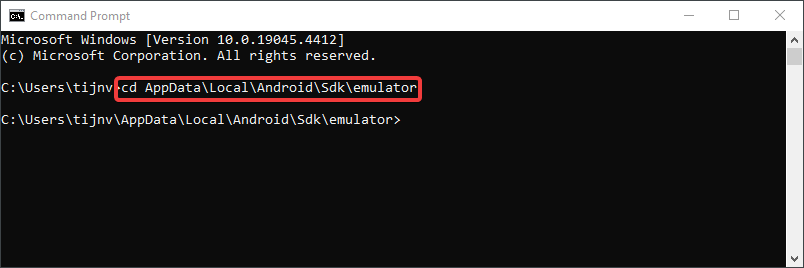
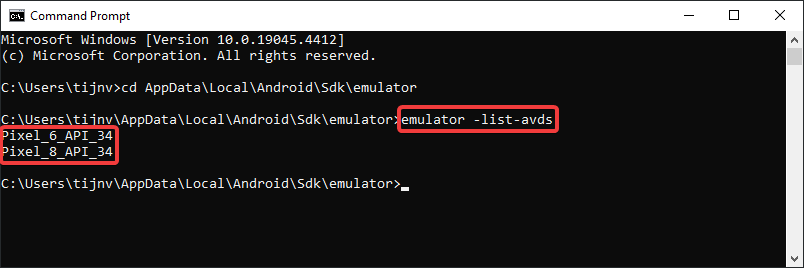
In your terminal you want to navigate to the following path: AppData\Local\Android\Sdk\emulator. This can be done by executing the following command:
cd AppData\Local\Android\Sdk\emulatorThis path should be the same for you if you installed Android Studio using the default setup.
Now we can execute the following command to get all emulator ID’s:
emulator -list-avdsEvery ID will show up on a new line inside the terminal.
Launch the Emulator From the Terminal
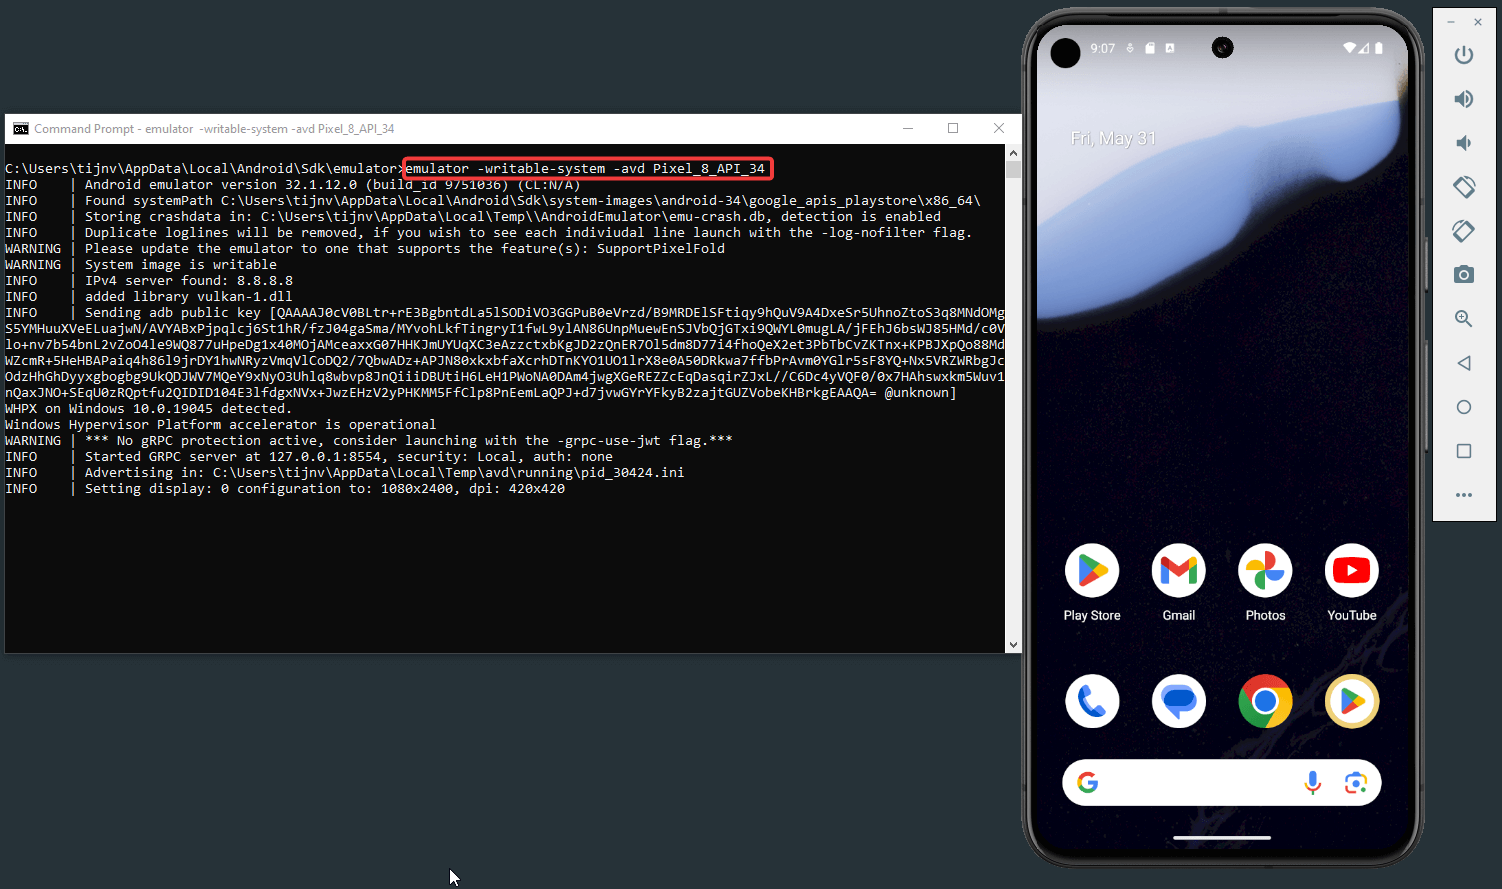
Now that we have the emulator ID, we can launch the emulator from the terminal. If you have not already, open your terminal and navigate to the following path: AppData\Local\Android\Sdk\emulator by executing the below command:
cd AppData\Local\Android\Sdk\emulatorAfterward, we can execute the following command to launch the Android Emulator, ensure that you replace Pixel_8_API_34 with the ID of your emulator:
emulator -writable-system -avd Pixel_8_API_34You will see some output inside your terminal and afterward you should see your emulator.
Although launching an Android emulator from the terminal is more convenient and faster than using Android Studio, we can make it even easier by creating a script.
Create a Batch Script to Launch the Android Emulator in One Click
In this section we will create .bat script to launch the Android emulator on Windows.
Create the Batch File
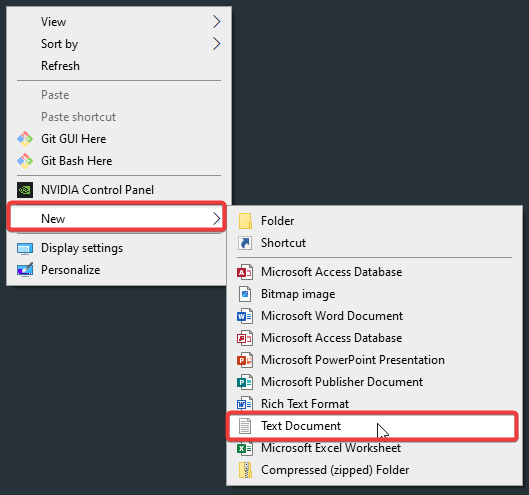
To create a .bat file, navigate to your desktop. Right-click on your desktop, click on New and afterward click on Text Document.
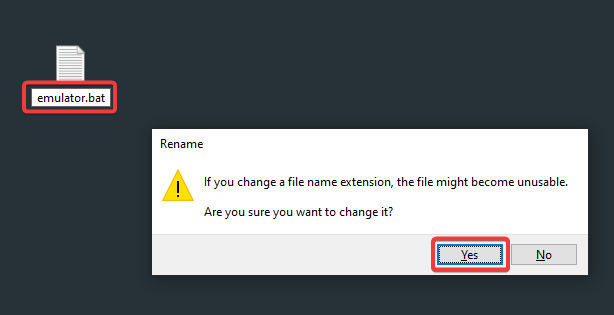
After creating the file, you can rename it, but ensure to suffix it with .bat. For example, I will name my file to emulator.bat. You can also include the emulator ID in the file name if you want multiple scripts to run different emulators.
When you click enter to rename your file you will see the following pop-up, you can click Yes and your file will be renamed.
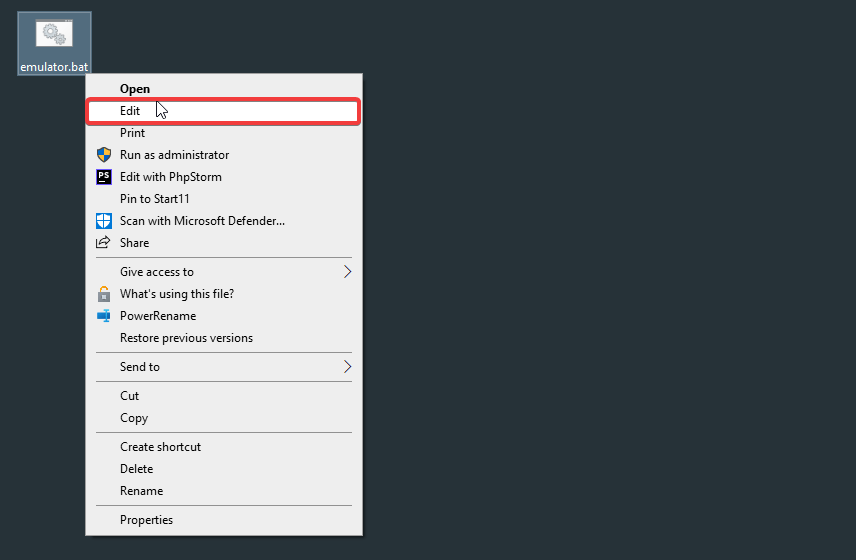
Now that the file is renamed we can start writing our script. This can be done using Notepad or any IDE of your choice. To open Notepad you can right-click the .bat file and click Edit.
Writing the Batch Script
The commands for the Batch script are quite easy and include the same commands we used before to launch an Android emulator from the terminal. However, we have to ensure that we are using the full path of the emulator’s location.
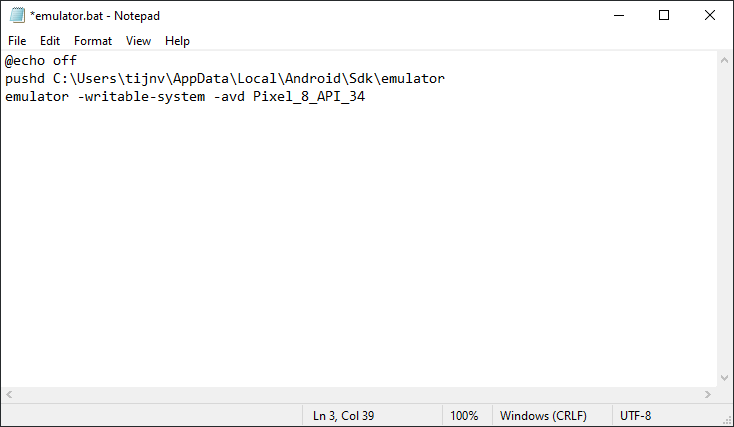
@echo off
pushd C:\Users\tijnv\AppData\Local\Android\Sdk\emulator
emulator -writable-system -avd Pixel_8_API_34
In the above script, we start with @echo off to ensure that the contents of the script will not be displayed when executed. Afterward, we navigate to the full path of our emulator. Ensure to replace tijnv with your user.
At last, we execute the command to start our Android emulator, ensure to replace Pixel_8_API_34 with the ID of your emulator.
After you have changed the commands, you can click save (Ctrl + S) and run the script by clicking on the .bat file.

Now every time you want to start developing you simply have to click your .bat file and your emulator will launch. For quick access I pinned my emulator to the Start Menu, so I only have to press the Windows button, to access it.
Conclusion
Launching the Android emulator from the terminal saves you time and eliminates the need to open Android Studio. Using a batch script makes launching your Android emulator even easier. I hope you found this article useful, if you have any questions feel free to leave a comment down below.